linux:centos7
网络环境:连接外网,可ping通百度
下载suricata5.01包
https://www.openinfosecfoundation.org/download/suricata-5.0.1.tar.gz
安装依赖环境
yum install epel-release
yum -y install gcc libpcap-devel pcre-devel libyaml-devel file-devel zlib-devel jansson-devel nss-devel libcap-ng-devel libnet-devel tar make libnetfilter_queue-devel lua-devel PyYAML libmaxminddb-devel rustc cargo lz4-devel
解压/编译suricata
tar -zxvf suricata-5.0.1.tar.gz
mv suricata-5.0.1 suricata
cd suricata
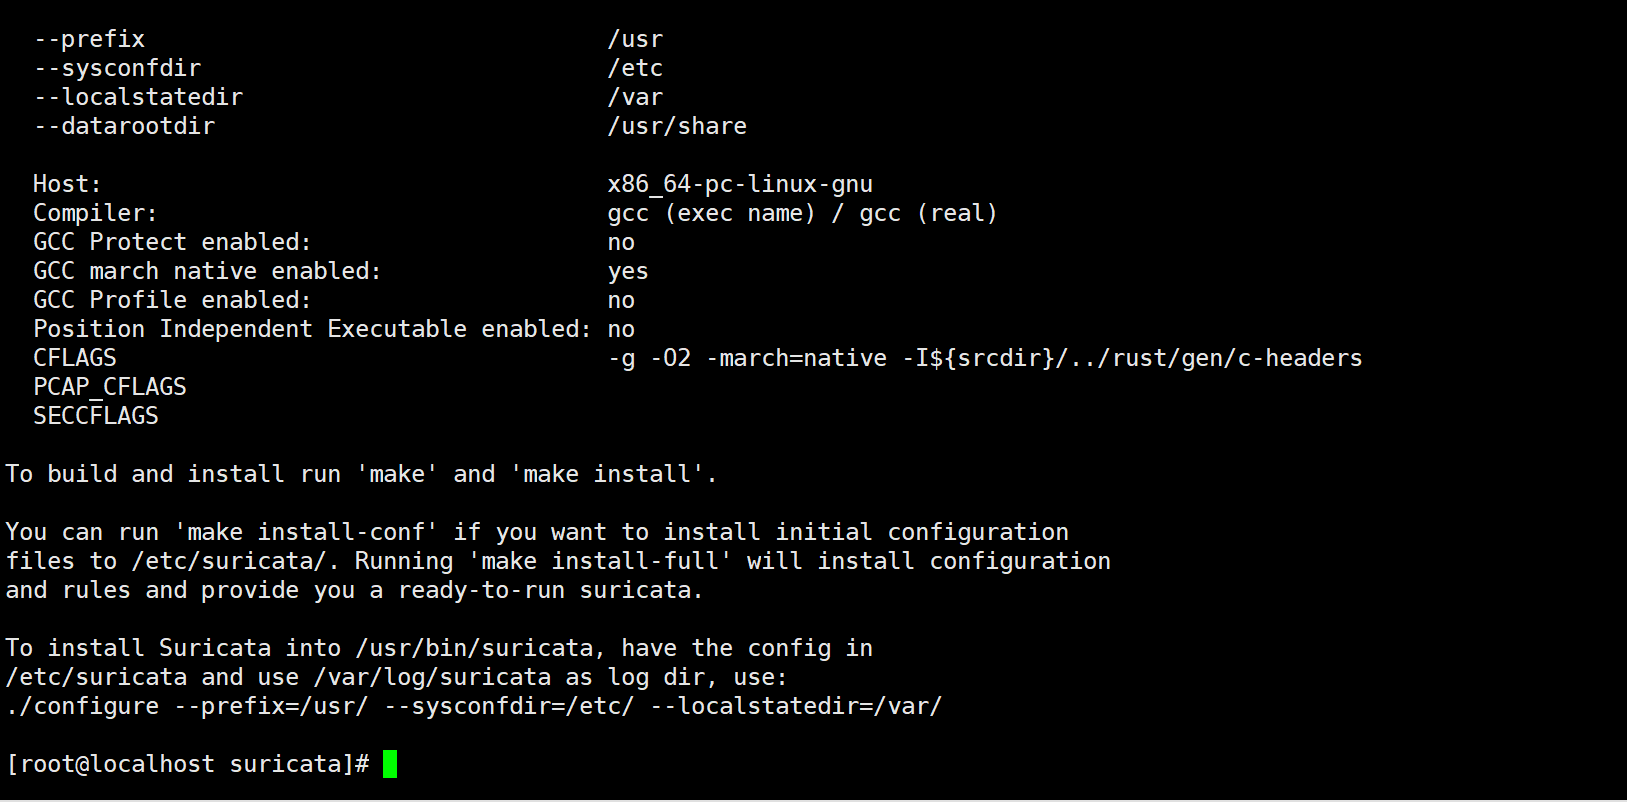
./configure --prefix=/usr --sysconfdir=/etc --localstatedir=/var --enable-nfqueue --enable-lua
结果如图
执行
make
make install
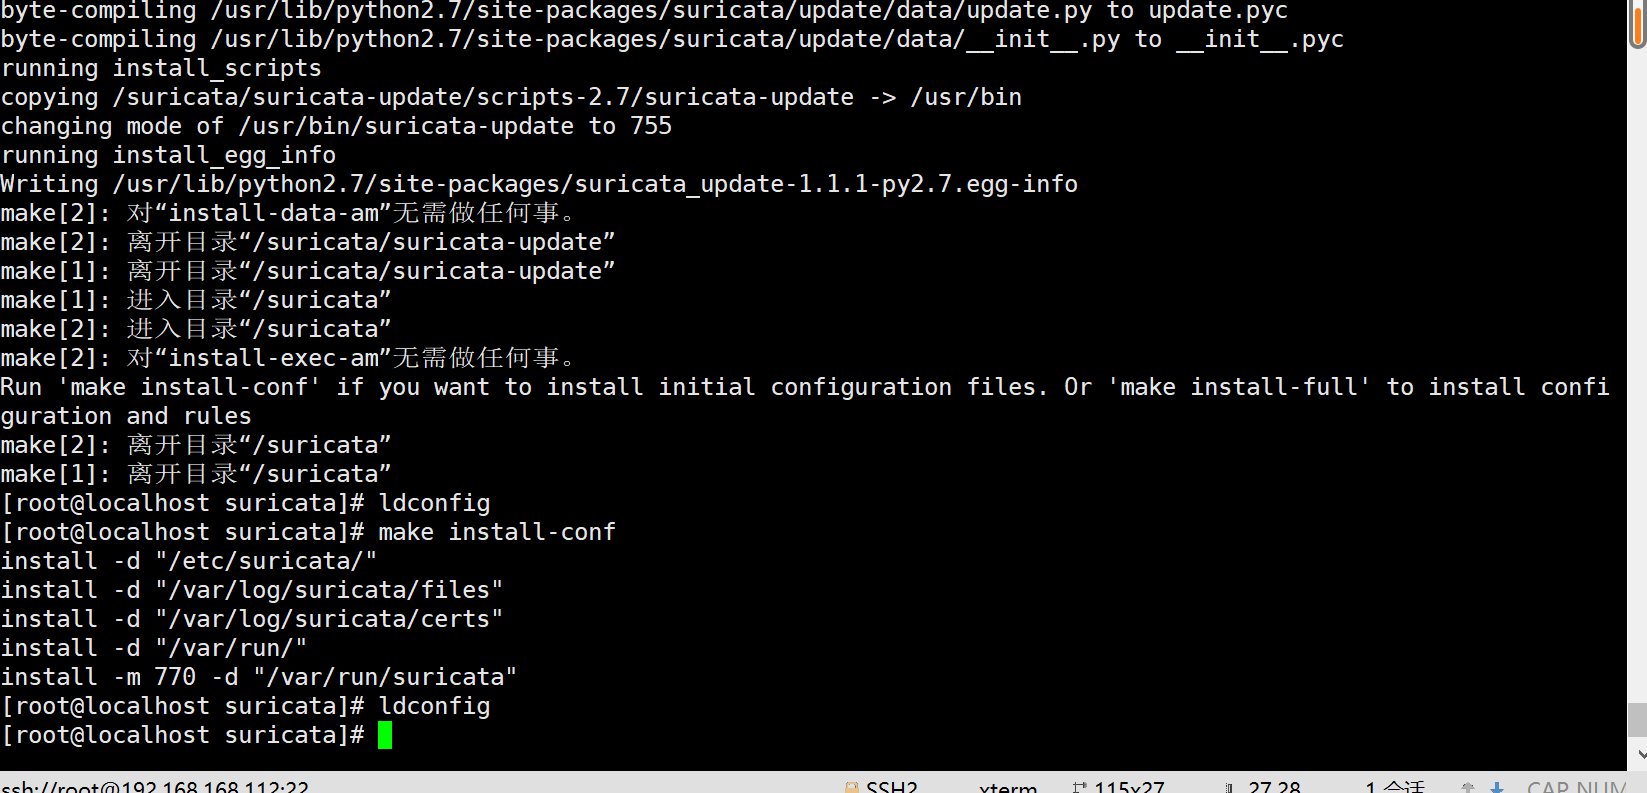
编译结束后,执行make install-conf,生成配置文件,日志目录
之后执行 ldconfig,如下图
以上编译完成,编写systemctl 文件启动suricata
首先执行
ln -s /usr/bin/suricata /sbin/(创建软链接)
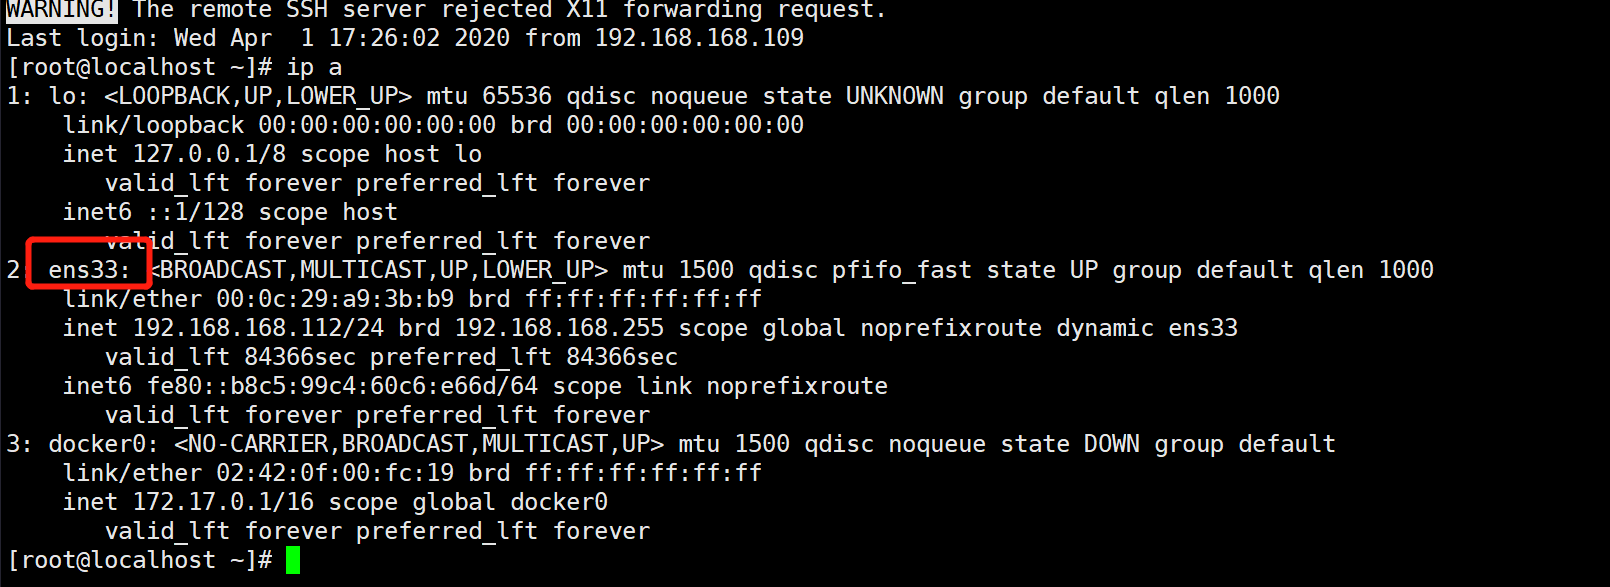
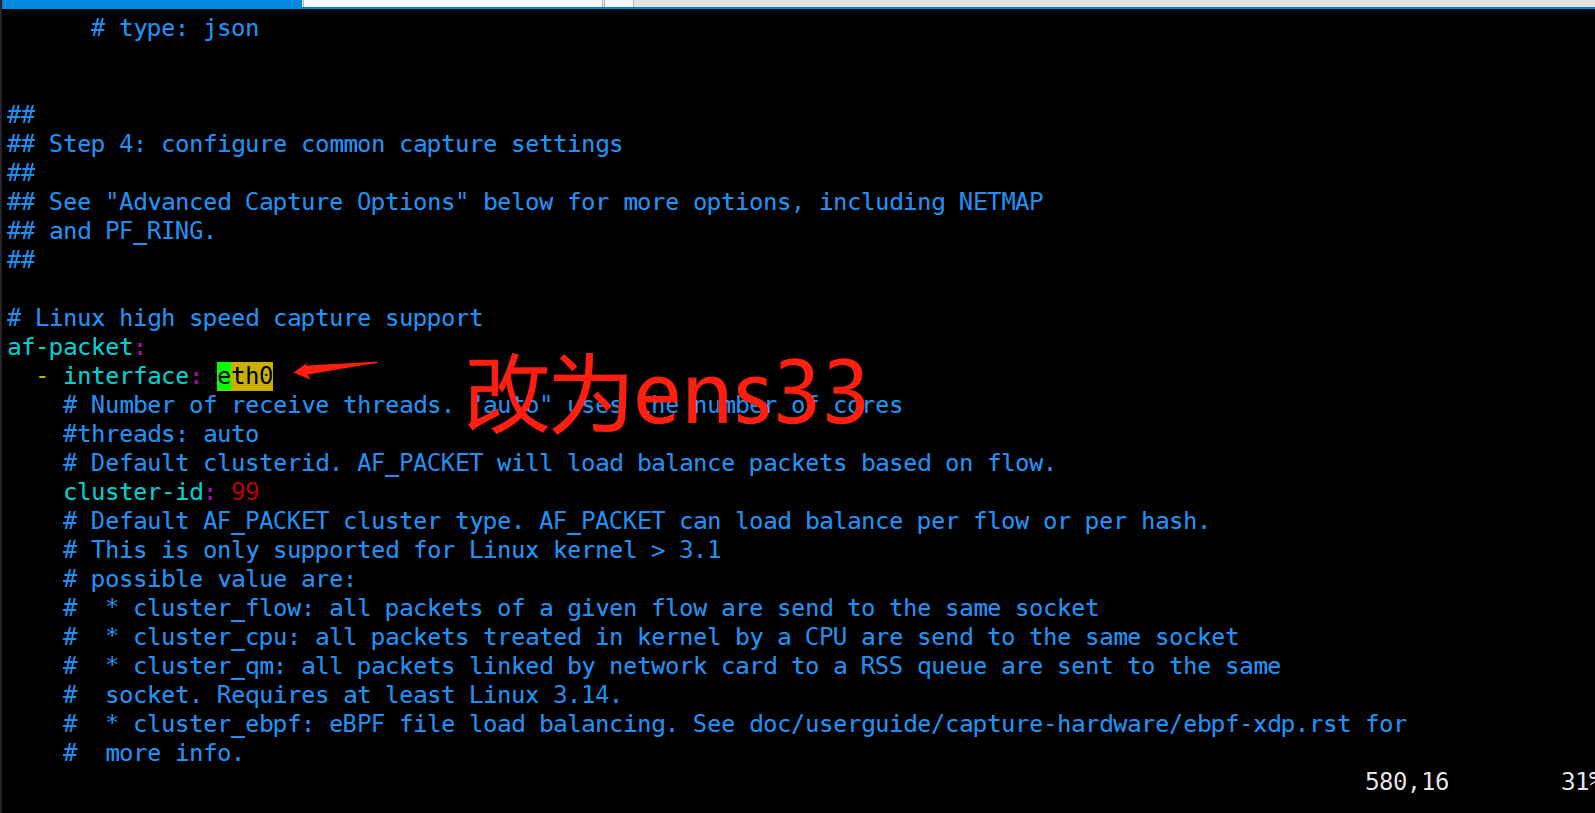
修改suricata.yml网卡信息
将eth0改为自己要监听的网卡
创建suricata用户,添加suricata采集方式
useradd suricata
touch /etc/sysconfig/suricata
vim /etc/sysconfig/suricata,添加
OPTIONS="--af-pack -i ens33 --user suricata "
保存
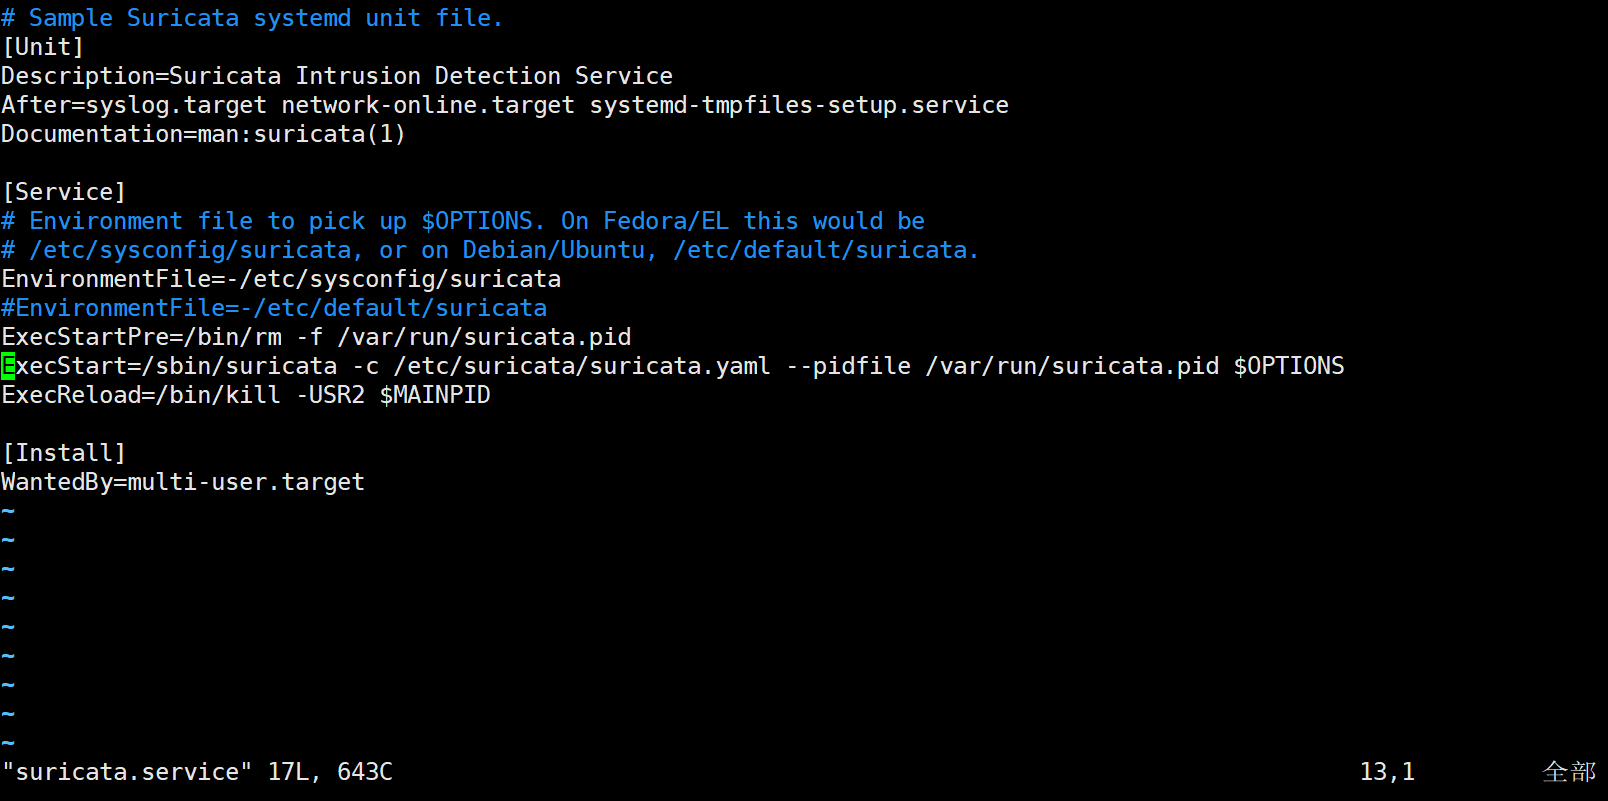
编写systemctl 文件suricata.service
# Sample Suricata systemd unit file.
[Unit]
Description=Suricata Intrusion Detection Service
After=syslog.target network-online.target systemd-tmpfiles-setup.service
Documentation=man:suricata(1)
[Service]
# Environment file to pick up $OPTIONS. On Fedora/EL this would be
# /etc/sysconfig/suricata, or on Debian/Ubuntu, /etc/default/suricata.
EnvironmentFile=-/etc/sysconfig/suricata
#EnvironmentFile=-/etc/default/suricata
ExecStartPre=/bin/rm -f /var/run/suricata.pid
ExecStart=/sbin/suricata -c /etc/suricata/suricata.yaml --pidfile /var/run/suricata.pid $OPTIONS
ExecReload=/bin/kill -USR2 $MAINPID
[Install]
WantedBy=multi-user.target
#######然后将suricata.service放到/usr/lib/systemd/system/
执行systemctl daemon-reload
systemct enable suricata
suricata start suricata
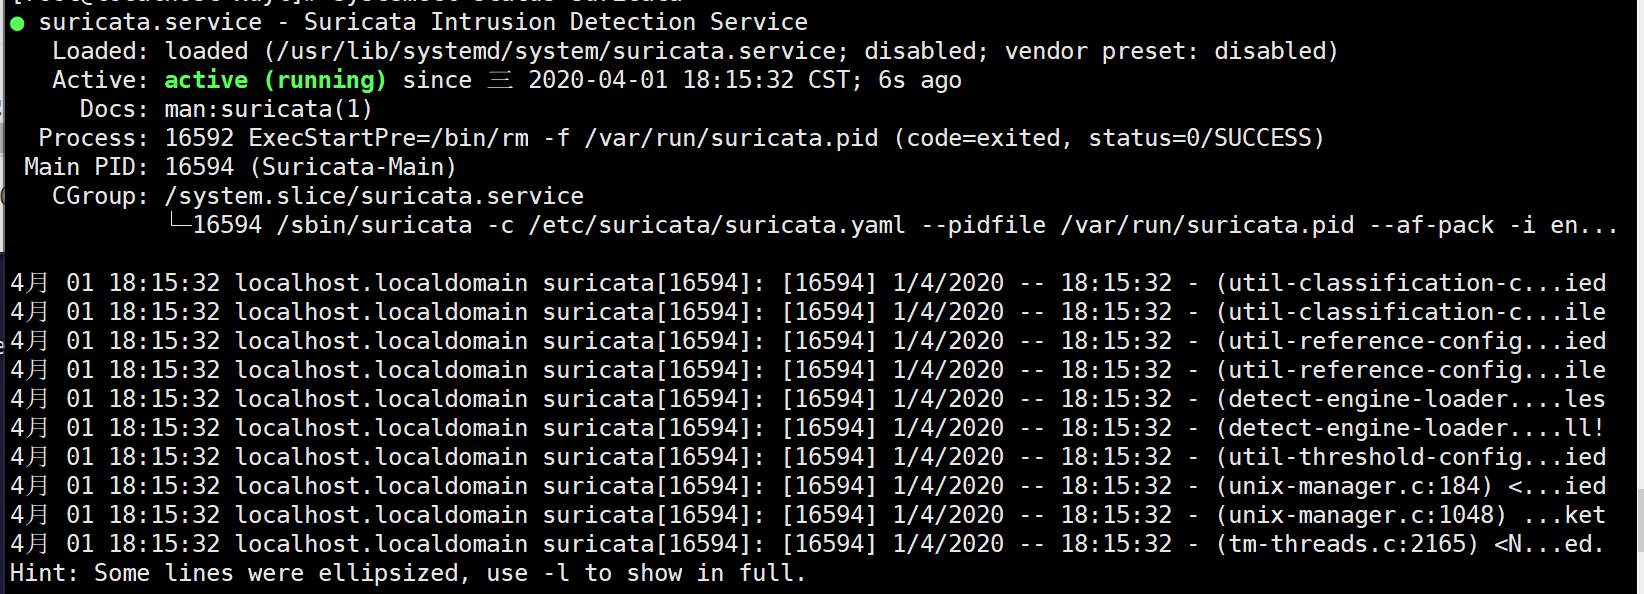
systemctl status suricata(启动成功)
来源:oschina
链接:https://my.oschina.net/u/4082432/blog/3216730