浅显易懂,推荐
一、课程介绍
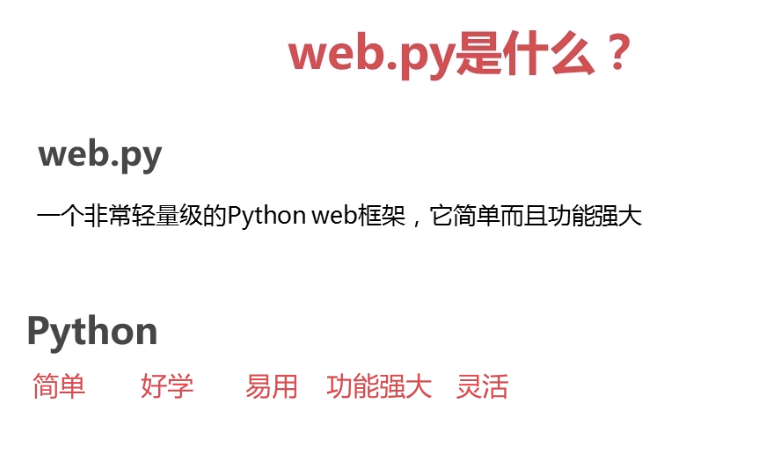
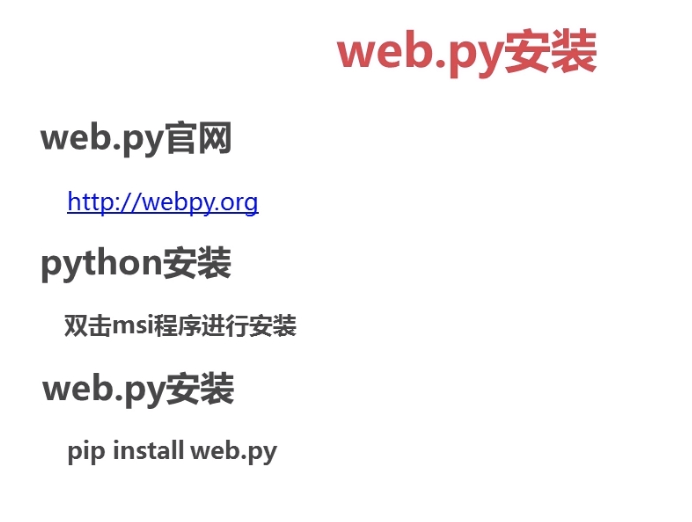
web.py官网:http://webpy.org
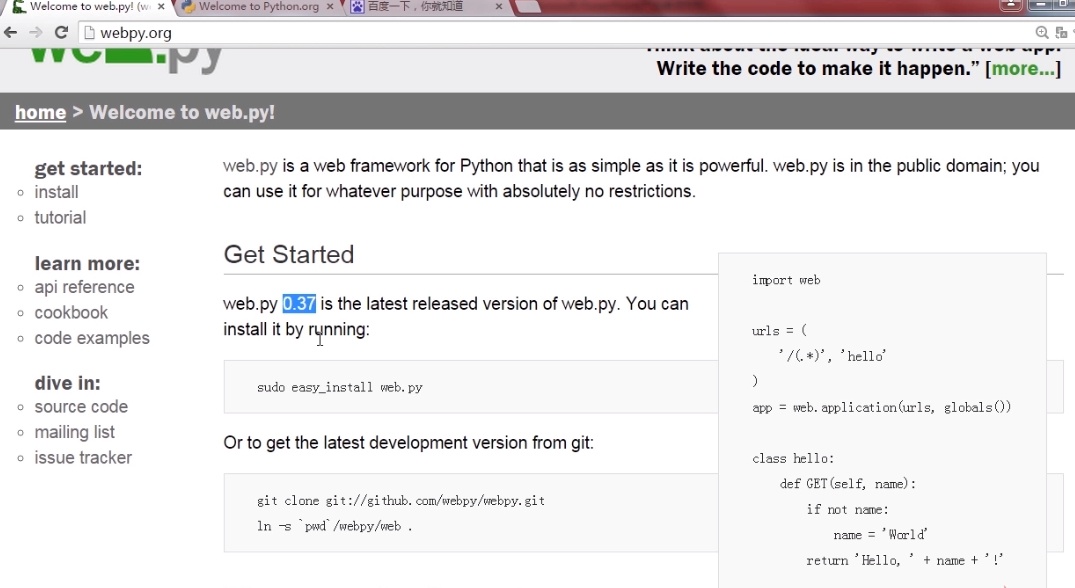
版本基本不会更新,作者去世
pip install web.py #在python2.7环境下
pip3 install web.py--0.40-dev1 #在python3环境下
安装webpy
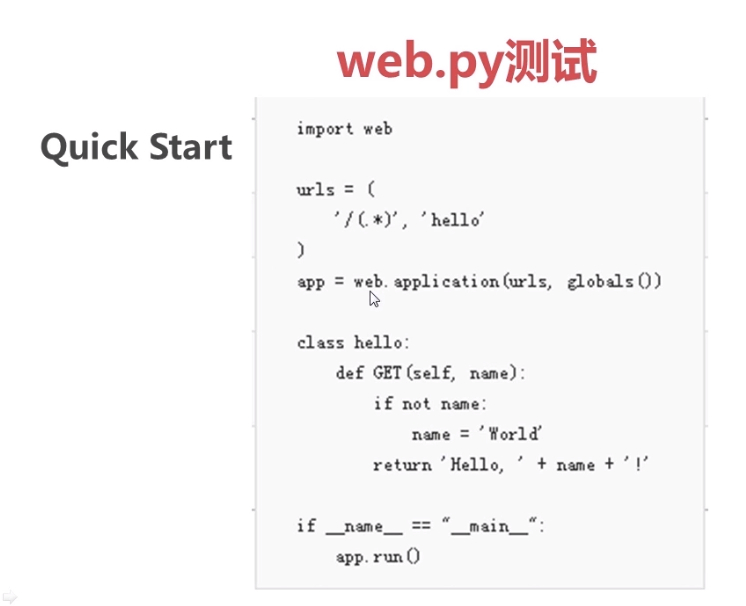
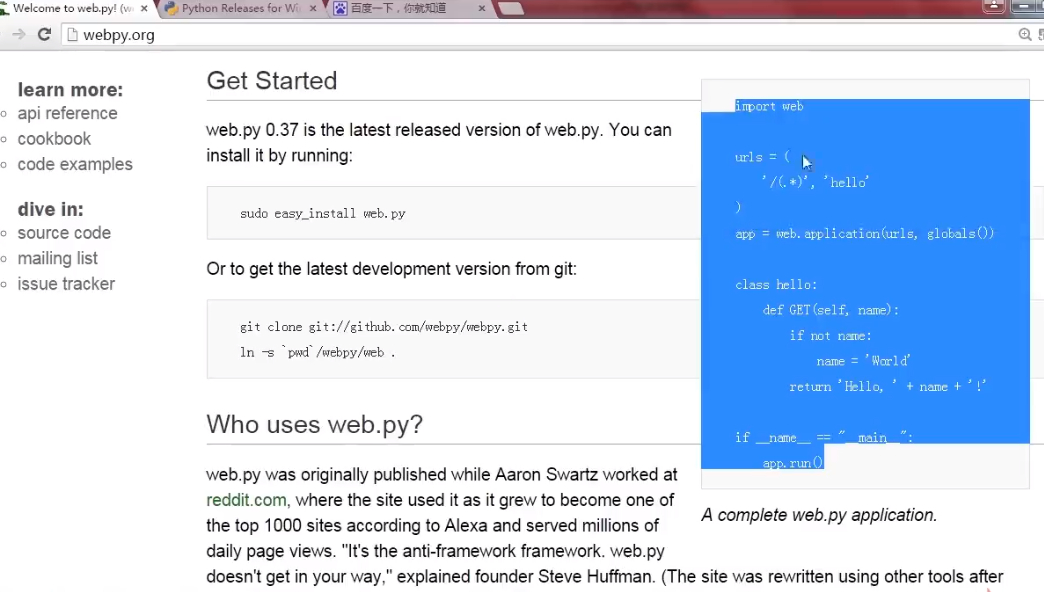
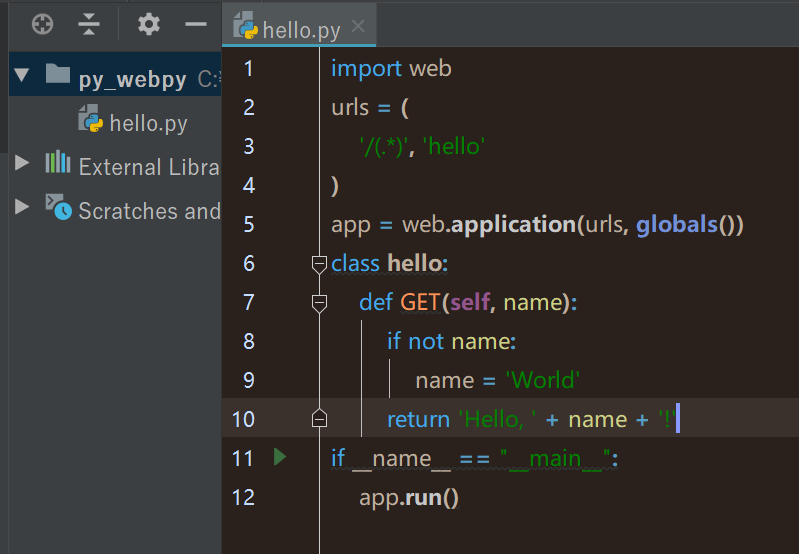
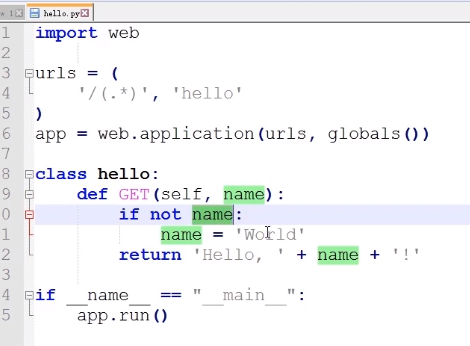
import web

urls = (
    '/(.*)', 'hello'
)
app = web.application(urls, globals())

class hello:
    def GET(self, name):
        if not name:
            name = 'World'
        return 'Hello, ' + name + '!'

if __name__ == "__main__":
    app.run()
新建hello.py
python hello.py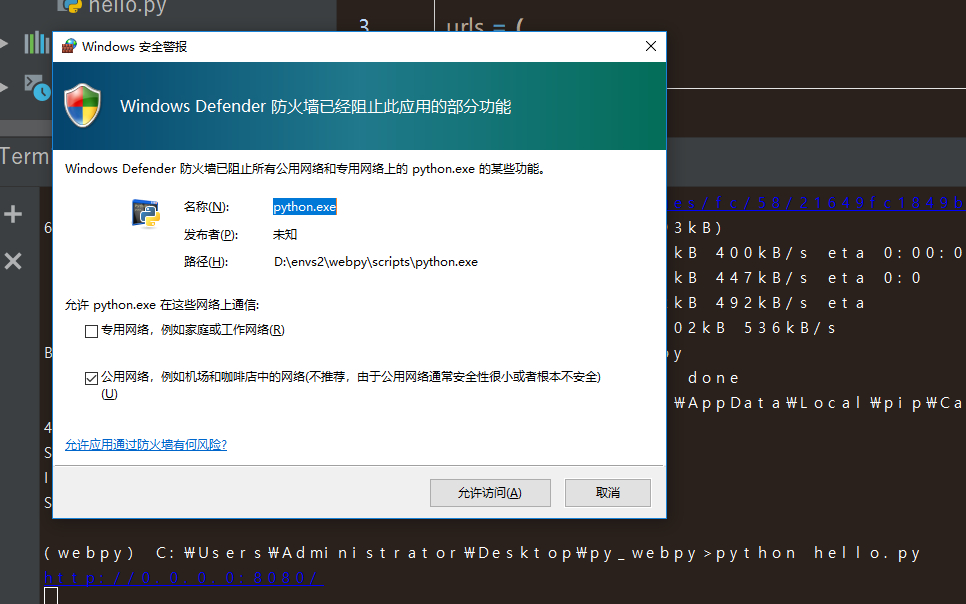
输入运行文件命令。(我这里pycharm2018.2不晓得为嘛terminal调整不了字间距,而且文件路径的/都变了,文字颜色也不晓得哪里能改,其他地方的显示都正常也能修改,这里除了文字大小能调整外,别的都不起作用。TVT)
返回0.0.0.0:8080

浏览器访问127.0.0.1:8080
——————————————————————————————————————
PS:0.0.0.0与127.0.0.1区别:https://blog.csdn.net/searchwang/article/details/33804265
0.0.0.0
严格说来,0.0.0.0已经不是一个真正意义上的IP地址了。它表示的是这样一个集合:所有不清楚的主机和目的网络。这里的“不清楚”是指在本机的路由表里没有特定条目指明如何到达。对本机来说,它就是一个“收容所”,所有不认识的“三无”人员,一律送进去。如果你在网络设置中设置了缺省网关,那么Windows系统会自动产生一个目的地址为0.0.0.0的缺省路由。
127.0.0.1
本机地址,主要用于测试。用汉语表示,就是“我自己”。在Windows系统中,这个地址有一个别名“Localhost”。寻址这样一个地址,是不能把它发到网络接口的。除非出错,否则在传输介质上永远不应该出现目的地址为“127.0.0.1”的数据包。
127.0.0.1与本地IP:127.0.0.1是自环地址,也就是回路地址,PING通了说明网卡没有问题,因此发往127的消息不会出网卡。
————————————————————————————————————————
二、web.py开发
1.demo

name
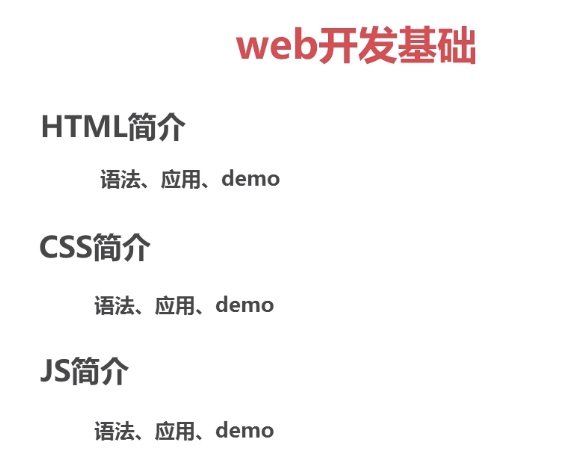
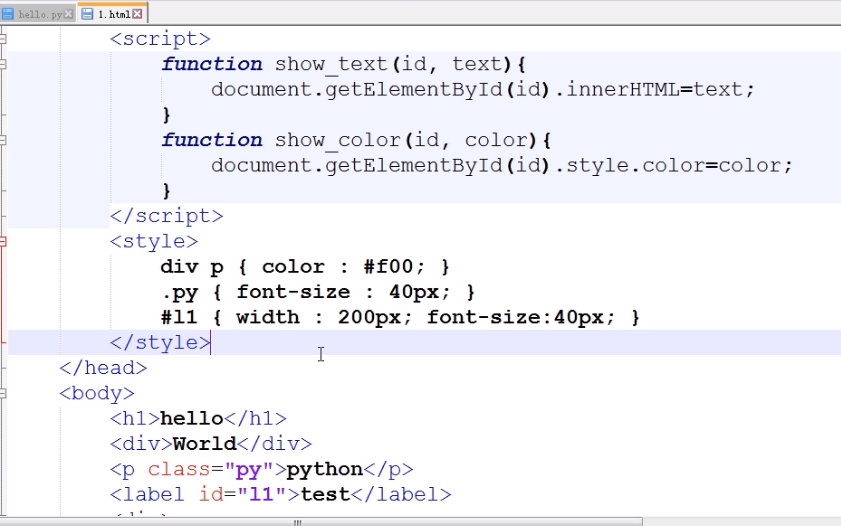
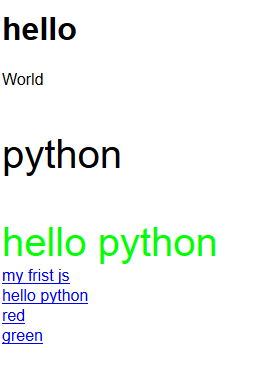
一些前课程前端代码
<!DOCTYPE html>
<html lang="en">
<head>
    <meta charset="UTF-8">
    <title>hello</title>
    <style>
        div p{color: #f00;}
        .py{font-size: 40px}
        #l1{width: 200px;font-size: 40px}
    </style>
</head>
<body>
    <h1>hello</h1>
    <div>World</div>
    <p class="py">python</p>
    <label id ='l1'>test</label>
    <div>
        <a href="javascript:void(0)" onclick="javascript:show_text('l1','my frist js')">my frist js</a>
        <a href="javascript:void(0)" onclick="javascript:show_text('l1','hello python')">hello python</a>
        <a href="javascript:void(0)" onclick="javascript:show_color('l1','#f00')">red</a>
        <a href="javascript:void(0)" onclick="javascript:show_color('l1','#0f0')">green</a>
    </div>
    <script>
        function show_text(id, text) {
            document.getElementById((id)).innerHTML=text
        }
        function show_color(id, color) {
            document.getElementById(id).style.color=color
        }
    </script>
</body>
</html>
新建1.html文件
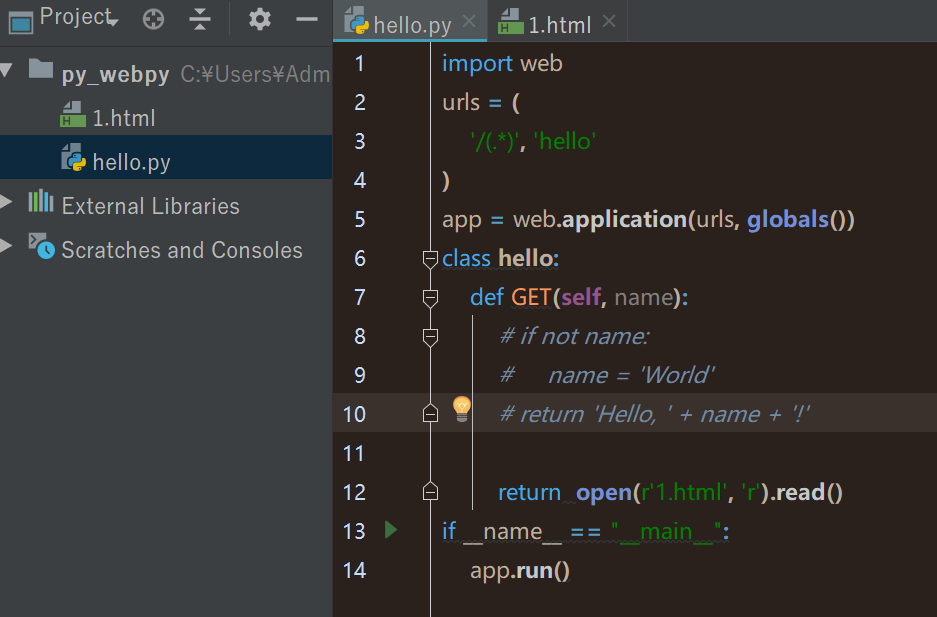
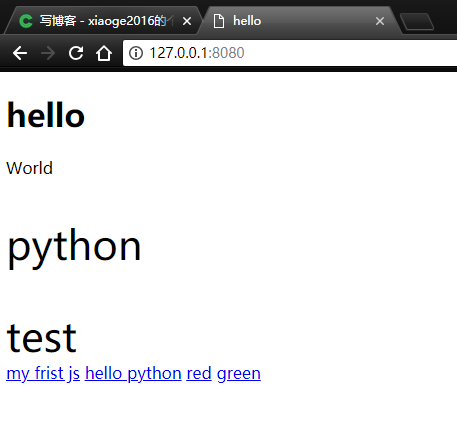
测试返回1.html内容
2.web.py学习
(1)url映射
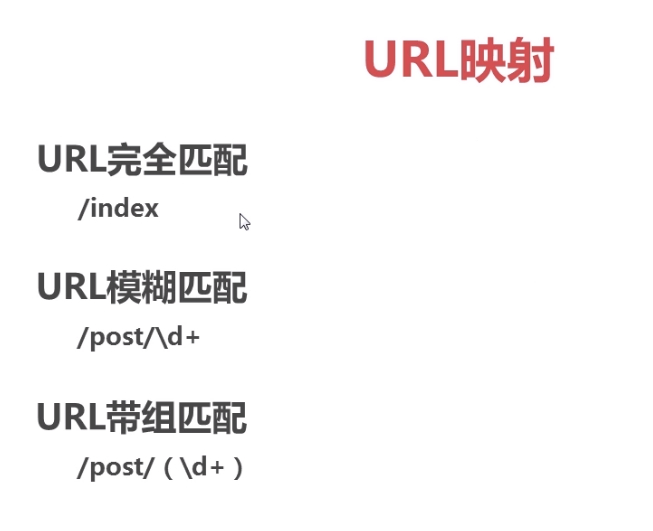


import web
urls = (
    '/index', 'index', #精确匹配
    '/blog/\d+','blog', #模糊匹配-带组
    '/(.*)','hello' #模糊匹配-不带组
) # 注意:url里有多个使用模糊匹配,模糊匹配范围大的要放在小的后面
app = web.application(urls, globals())
class index:
    def GET(self):
        return 'index method'
class blog:
    def GET(self):
        return 'blog method'
    def POST(self):
        return 'blog post method'
class hello:
    def GET(self, name):
        return 'hello' + name
if __name__ == "__main__":
    app.run()
hello.py获取路径
(2)请求处理
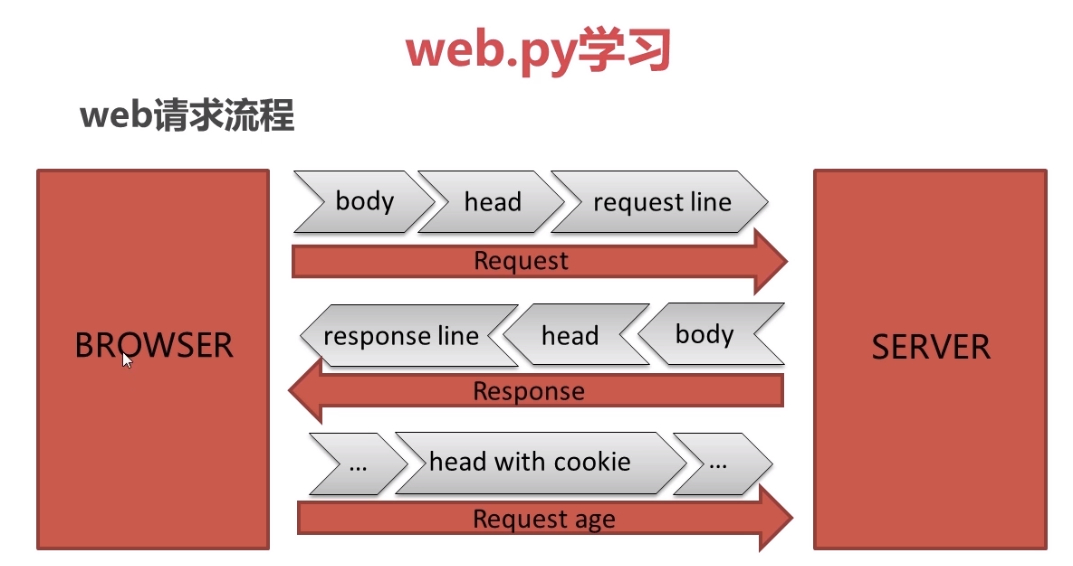
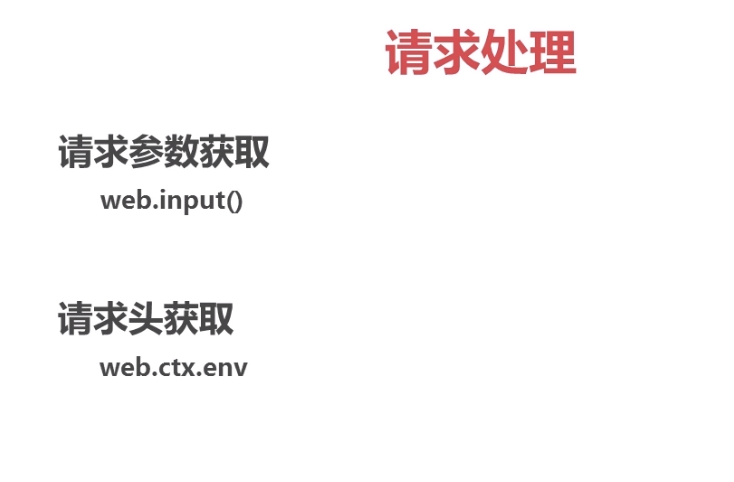
A.请求参数获取
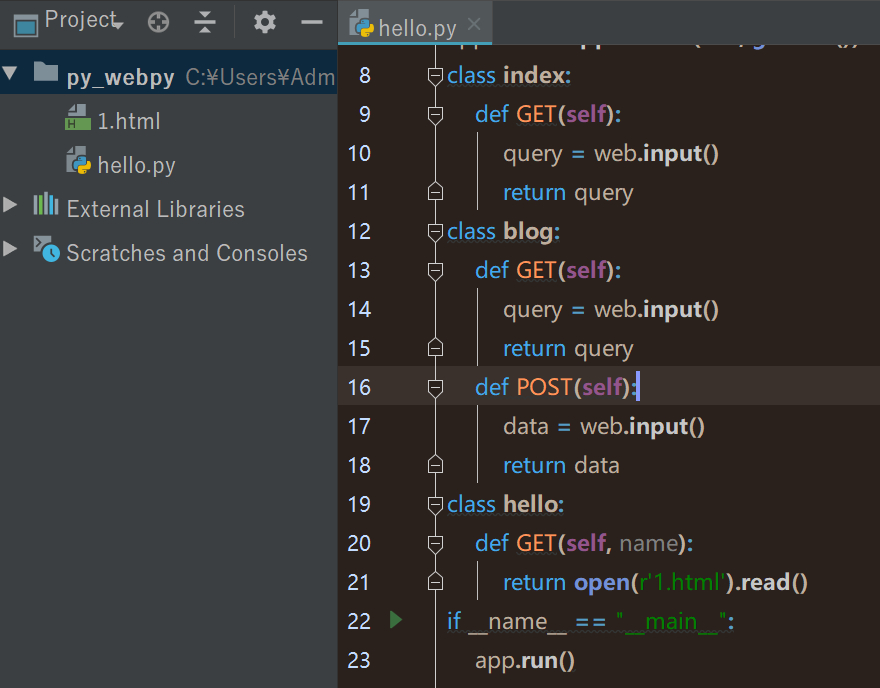
添加参数获取
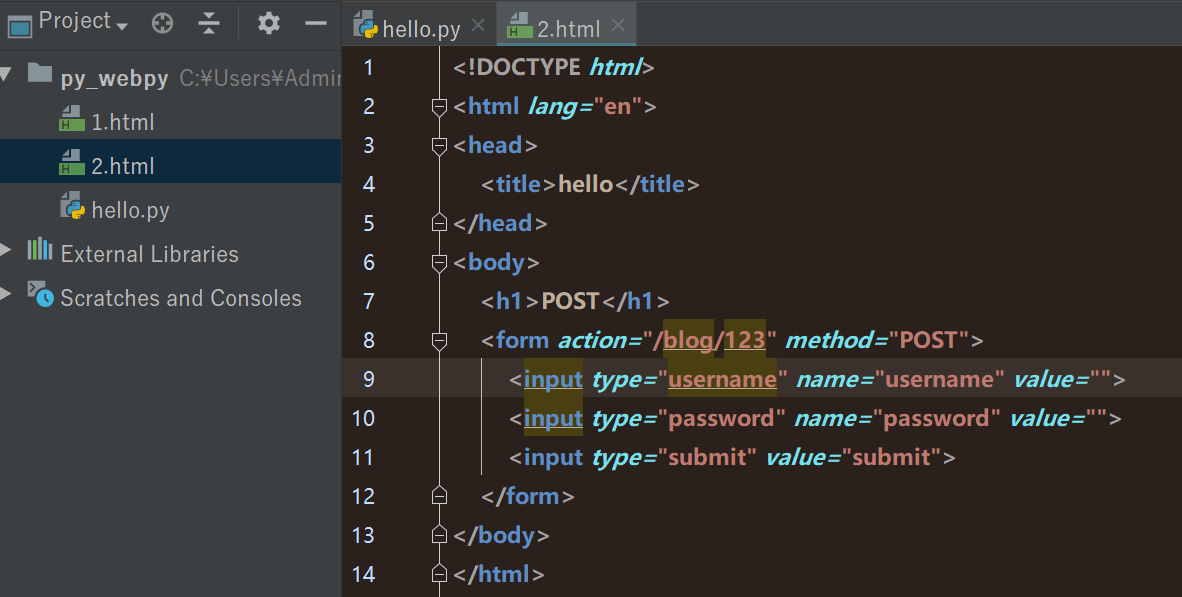
<!DOCTYPE html>
<html lang="en">
<head>
    <title>hello</title>
</head>
<body>
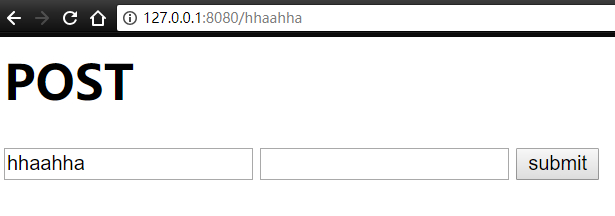
    <h1>POST</h1>
    <form action="/blog/123" method="POST">
        <input type="username" name="username" value="">
        <input type="password" name="password" value="">
        <input type="submit" value="submit">
    </form>
</body>
</html>
新建2.html
import web
urls = (
    '/index', 'index', #精确匹配
    '/blog/\d+','blog', #模糊匹配-带组
    '/(.*)','hello' #模糊匹配-不带组
) # 注意:url里有多个使用模糊匹配,模糊匹配范围大的要放在小的后面
app = web.application(urls, globals())
class index:
    def GET(self):
        query = web.input()
        return query
class blog:
    def GET(self):
        query = web.input()
        return query
    def POST(self):
        data = web.input()
        return data
class hello:
    def GET(self, name):
        return open(r'2.html').read()
if __name__ == "__main__":
    app.run()
hello.py


B.请求头获取
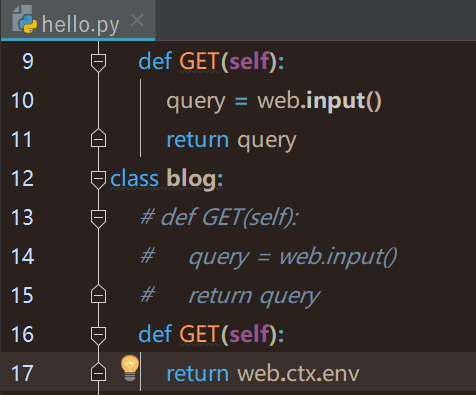
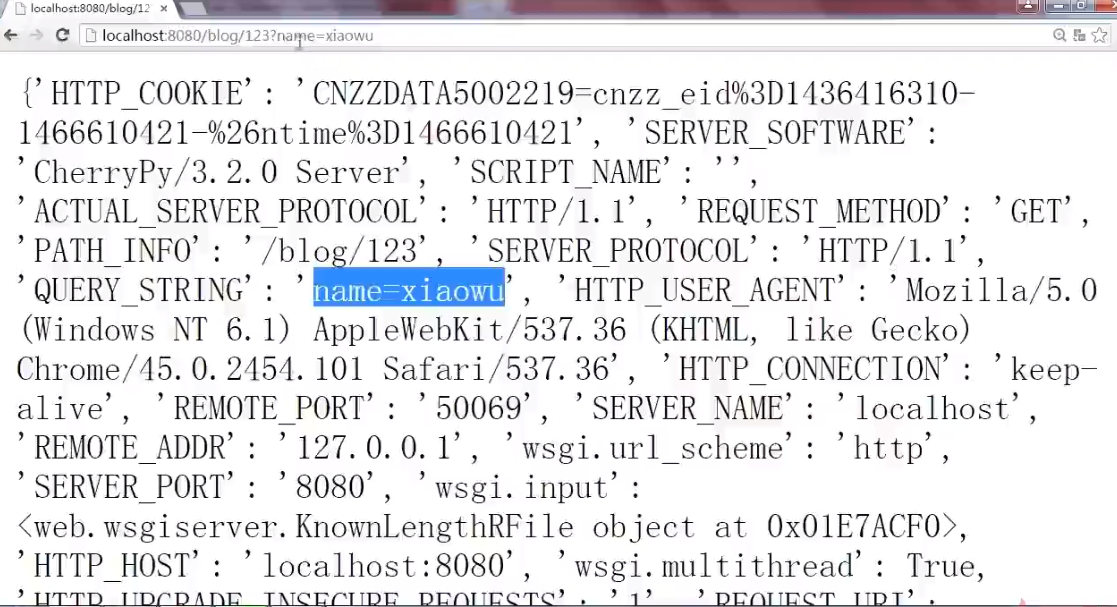
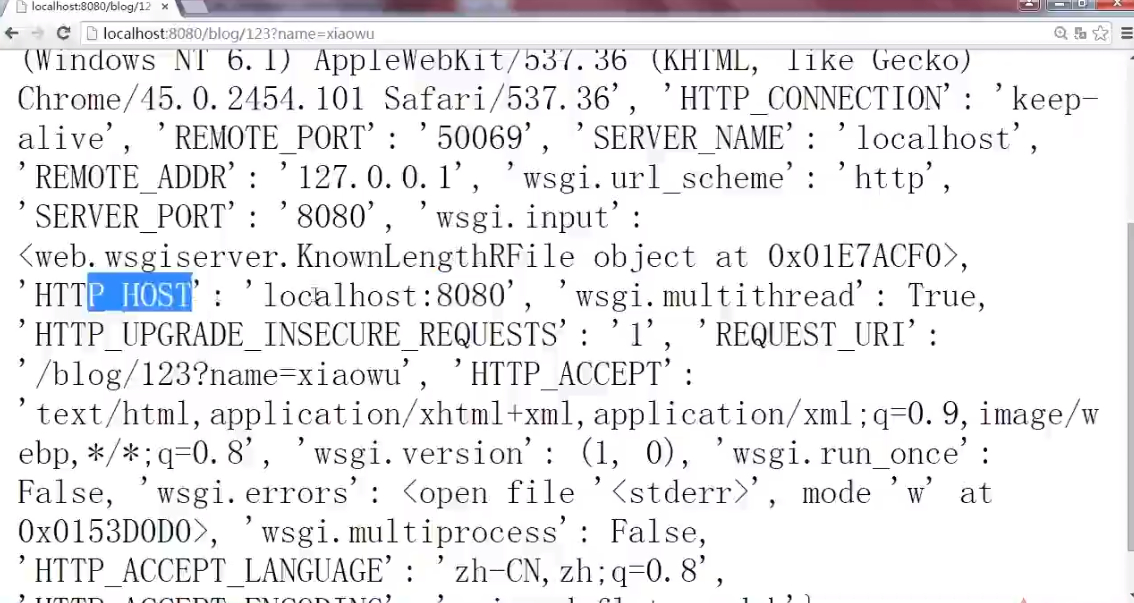
import web
urls = (
    '/index', 'index', #精确匹配
    '/blog/\d+','blog', #模糊匹配-带组
    '/(.*)','hello' #模糊匹配-不带组
) # 注意:url里有多个使用模糊匹配,模糊匹配范围大的要放在小的后面
app = web.application(urls, globals())
class index:
    def GET(self):
        query = web.input()
        return query
class blog:
    # def GET(self):
    #     query = web.input()
    #     return query
    def GET(self):
        return web.ctx.env
    def POST(self):
        data = web.input()
        return data
class hello:
    def GET(self, name):
        return open(r'2.html').read()
if __name__ == "__main__":
    app.run()
(3)相应处理
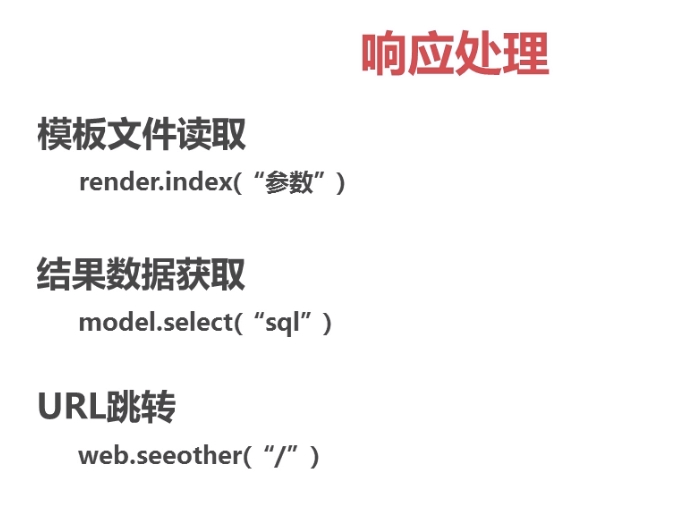
A.模板文件读取
pip install pymysql #python3
定义模板主目录

添加文章路径

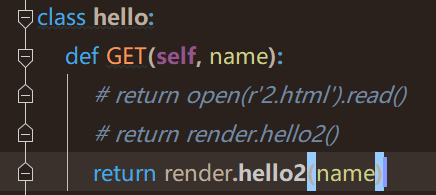
无参数render
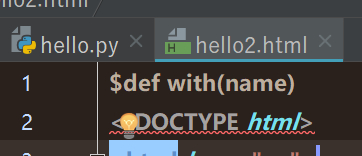
![]()
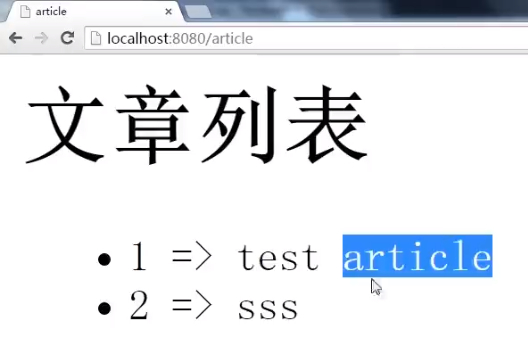
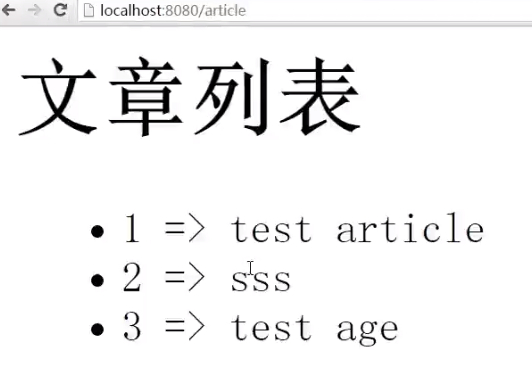
B.获取数据结果

建立数据库信息
![]()
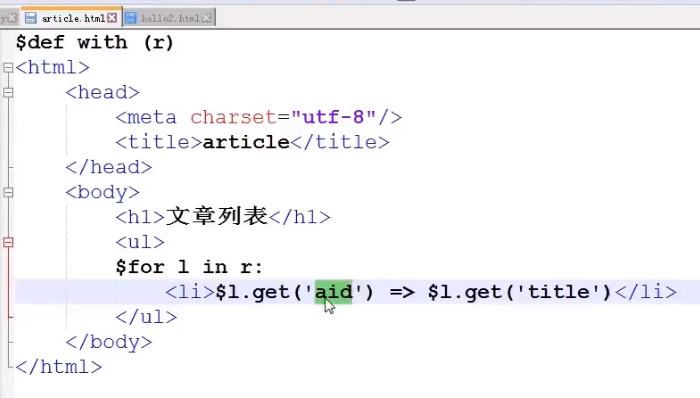
$def with(r)
<html lang="en">
<head>
    <title>article</title>
</head>
<body>
    <h1>文章列表</h1>
    <ul>
        $for l in r:
            <li>$l.get('aid') => $l.get('title')</li>
    </ul>
</body>
</html>
新建article.html
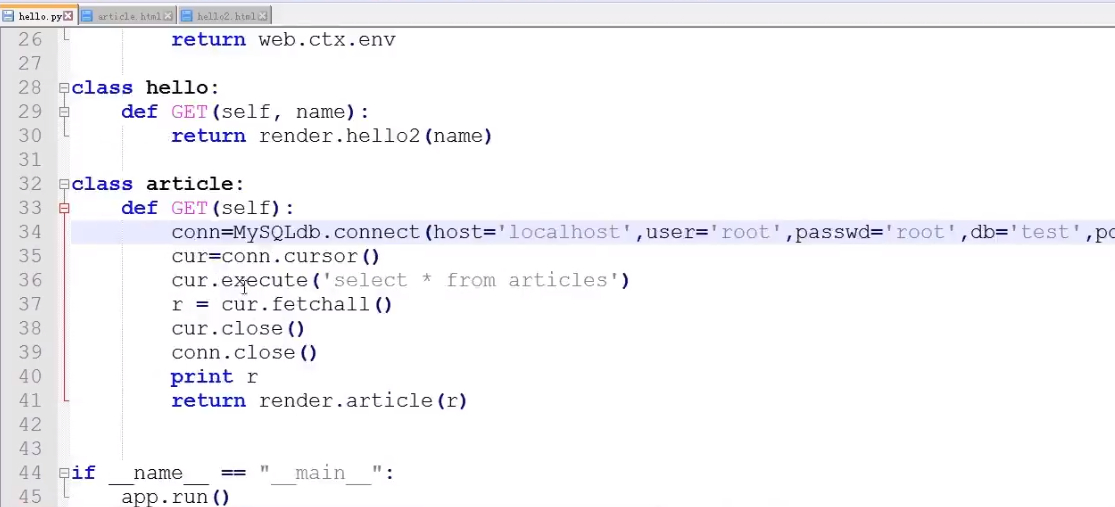
import pymysql #python3
pymysql.install_as_MySQLdb()
class article:
    def GET(self):
        conn =pymysql.connect(host='localhost',user='root',passwd='root',db='py_webpy',cursorclass=pymysql.cursors.DictCursor)
        cur=conn.cursor()
        cur.execute('select * from articles')
        r = cur.fetchall()
        cur.close()
        conn.close()
        print(r)
        return  render.article(r)
首页跳转
import web
# import MySQLdb #python2
# import MySQLdb.cursors
import pymysql #python3
pymysql.install_as_MySQLdb()
render = web.template.render('templates') #定义模板
urls = (
    '/article','article',
    '/index', 'index', #精确匹配
    '/blog/\d+','blog', #模糊匹配-带组
    '/(.*)','hello' #模糊匹配-不带组
) # 注意:url里有多个使用模糊匹配,模糊匹配范围大的要放在小的后面
app = web.application(urls, globals())
class index:
    def GET(self):
        query = web.input()
        # return query
        return web.seeother('/article') #跳转到文章页面,也可以跳转外部网站
class blog:
    # def GET(self):
    #     query = web.input()
    #     return query
    def GET(self):
        return web.ctx.env
    def POST(self):
        data = web.input()
        return data
class hello:
    def GET(self, name):
        # return open(r'2.html').read()
        # return render.hello2()
        return render.hello2(name) #引用模板-带参数
class article:
    def GET(self):
        conn =pymysql.connect(host='localhost',user='root',passwd='root',db='py_webpy',cursorclass=pymysql.cursors.DictCursor)
        cur=conn.cursor()
        cur.execute('select * from articles')
        r = cur.fetchall()
        cur.close()
        conn.close()
        print(r)
        return  render.article(r)
if __name__ == "__main__":
    app.run()
hello.py
三、分析
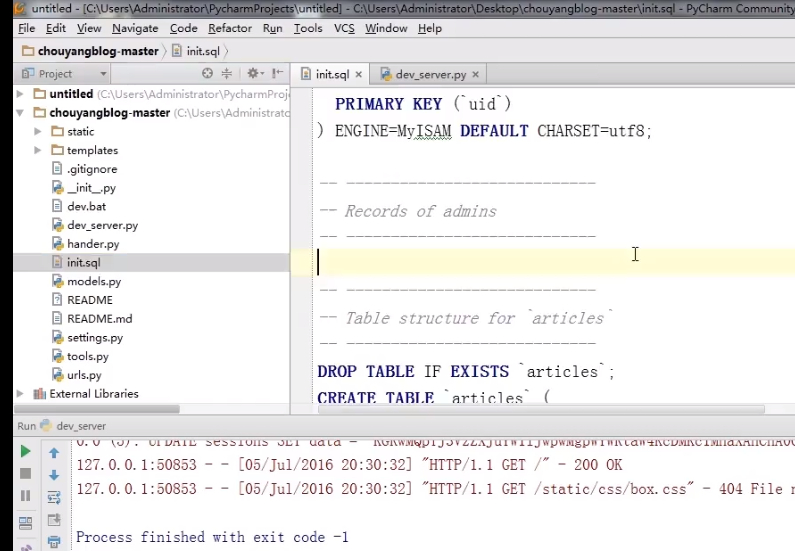

初始化数据库表结构脚本

classname必须有

密码生成一个铭文的
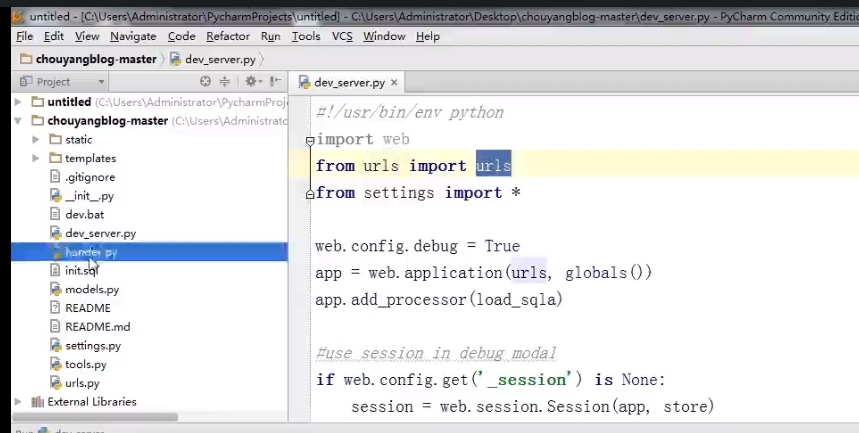
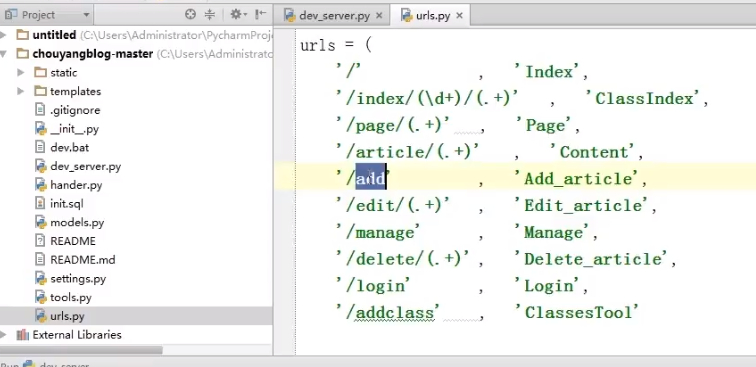
代码分析
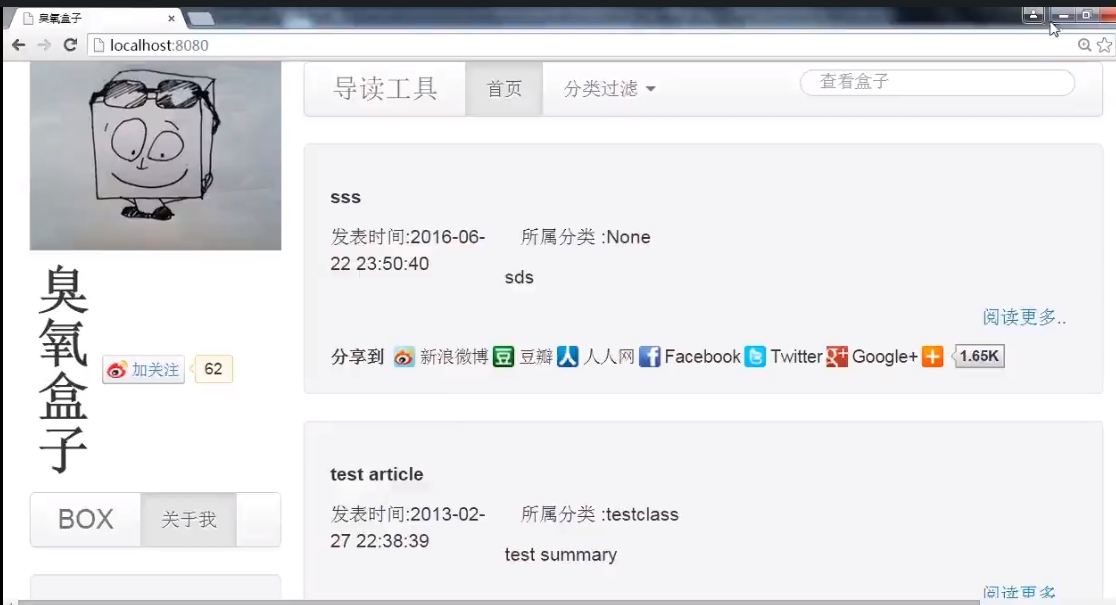
首页内容
相关
查找的github上相关代码:https://github.com/sunchen009/chouyangblog
完结
来源:oschina
链接:https://my.oschina.net/u/3018050/blog/1944106