nocos下载并启动
win下点击startup.cmd即可,
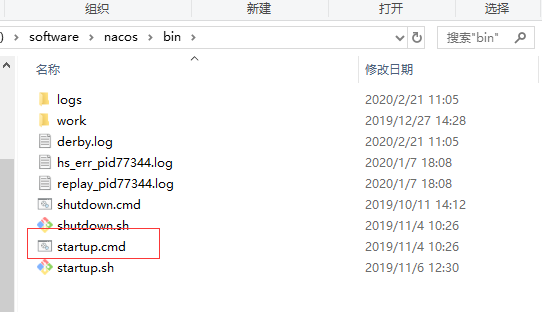
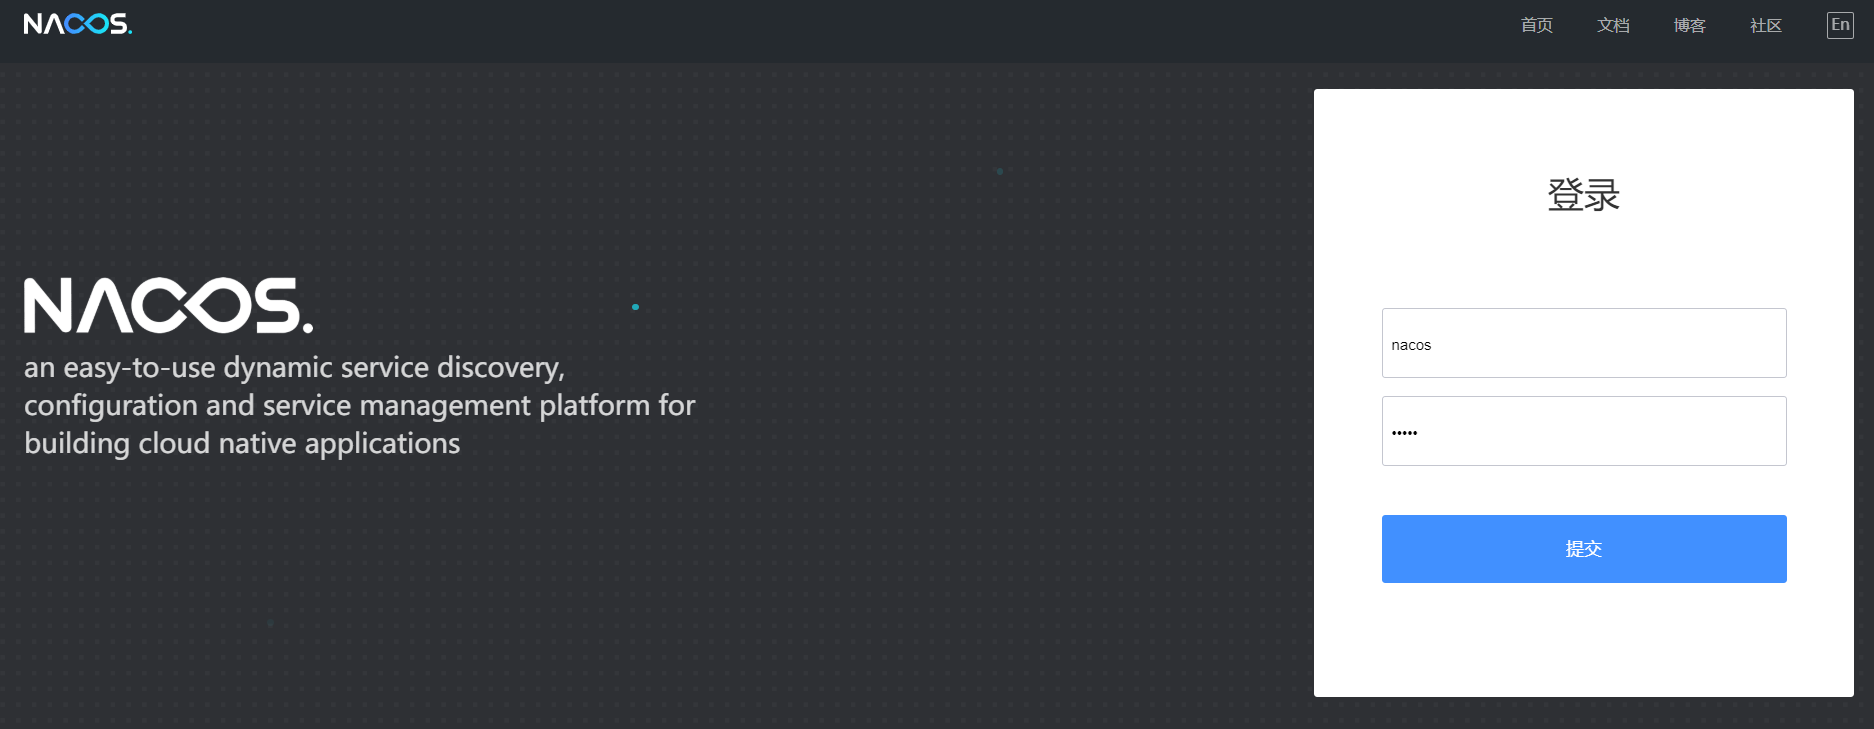
默认端口8848,账户密码均为nacos。
地址栏输入http://localhost:8848/nacos
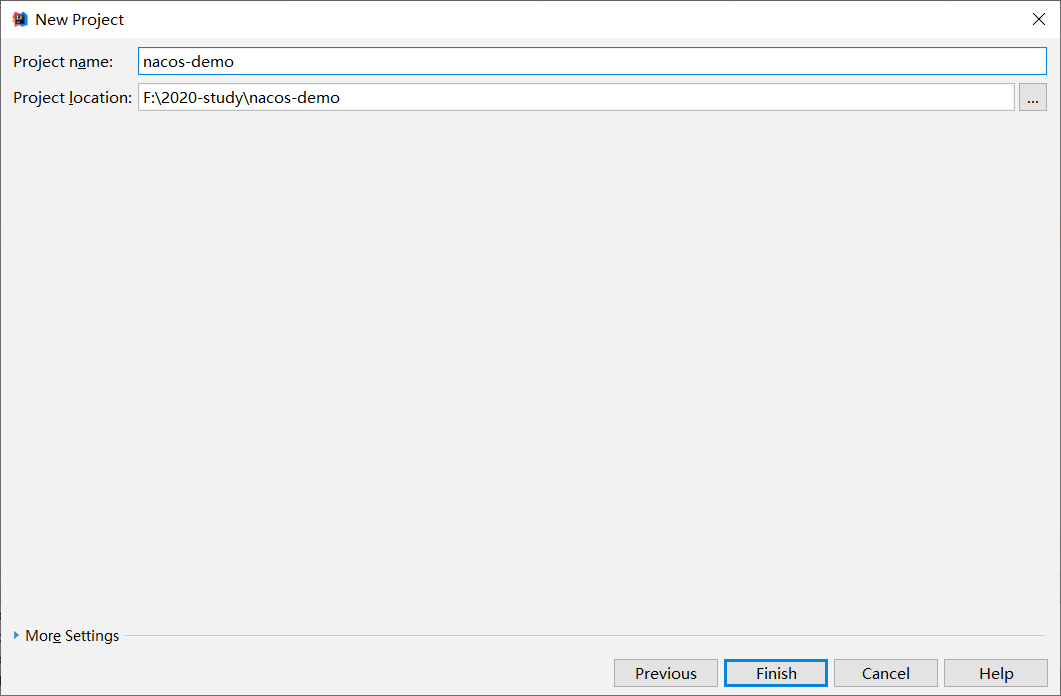
创建空项目
在空项目中创建子项目(provider)生产者
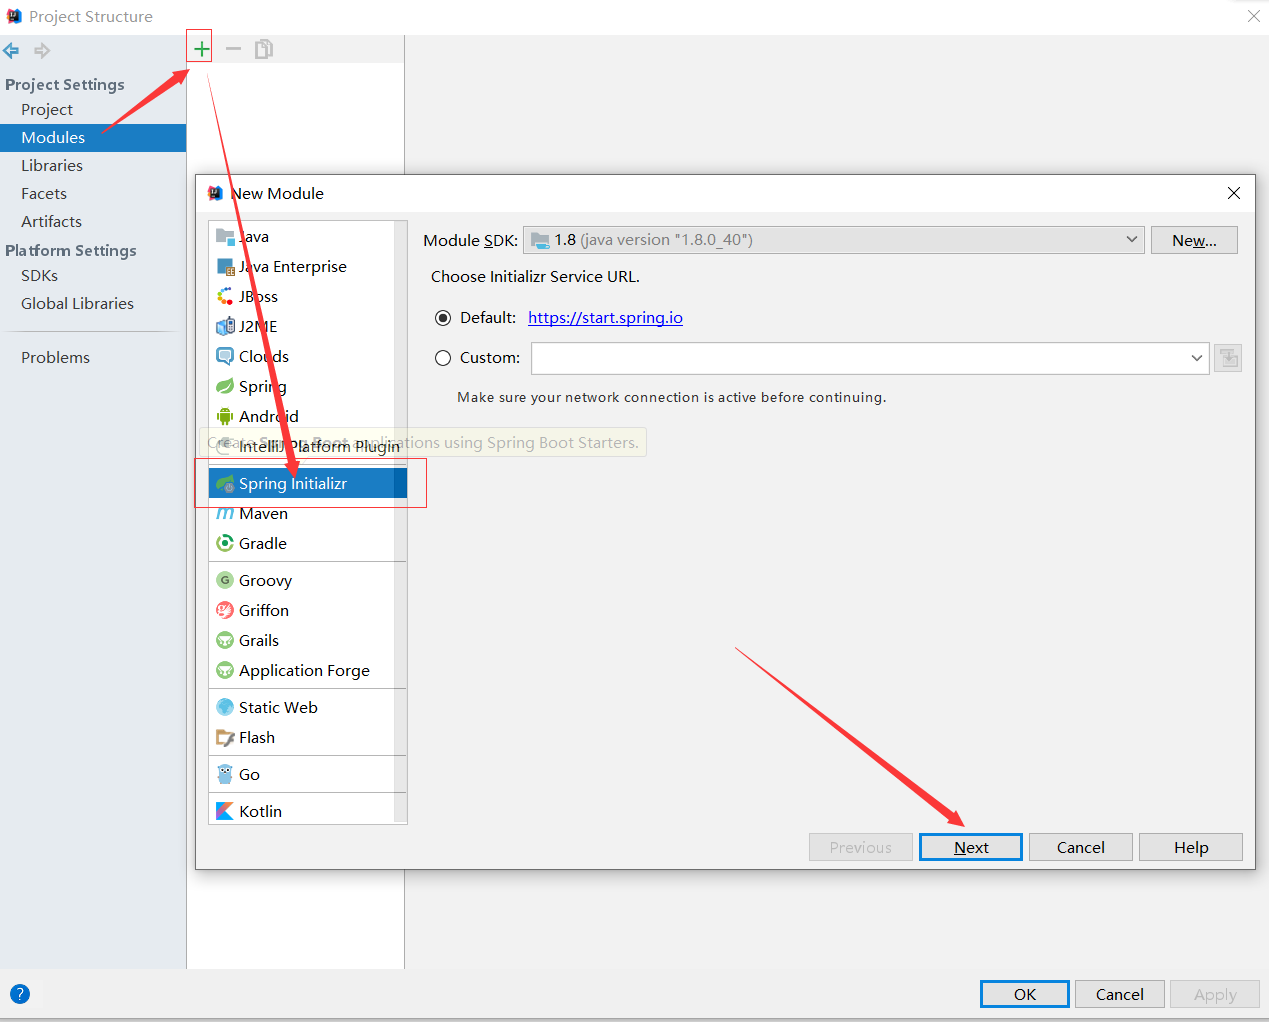
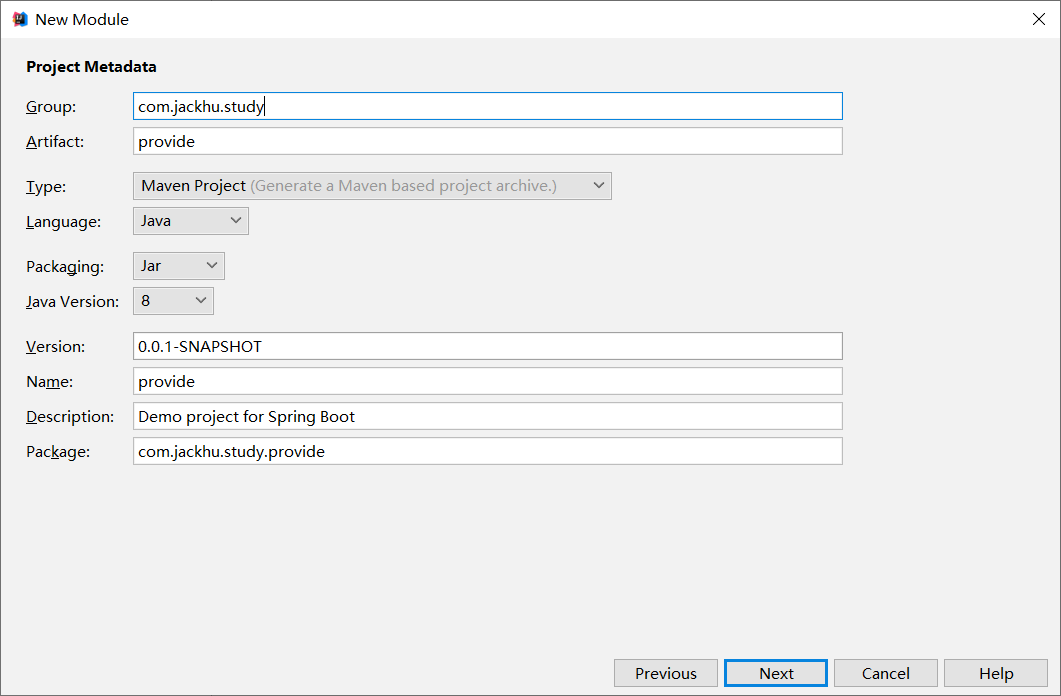
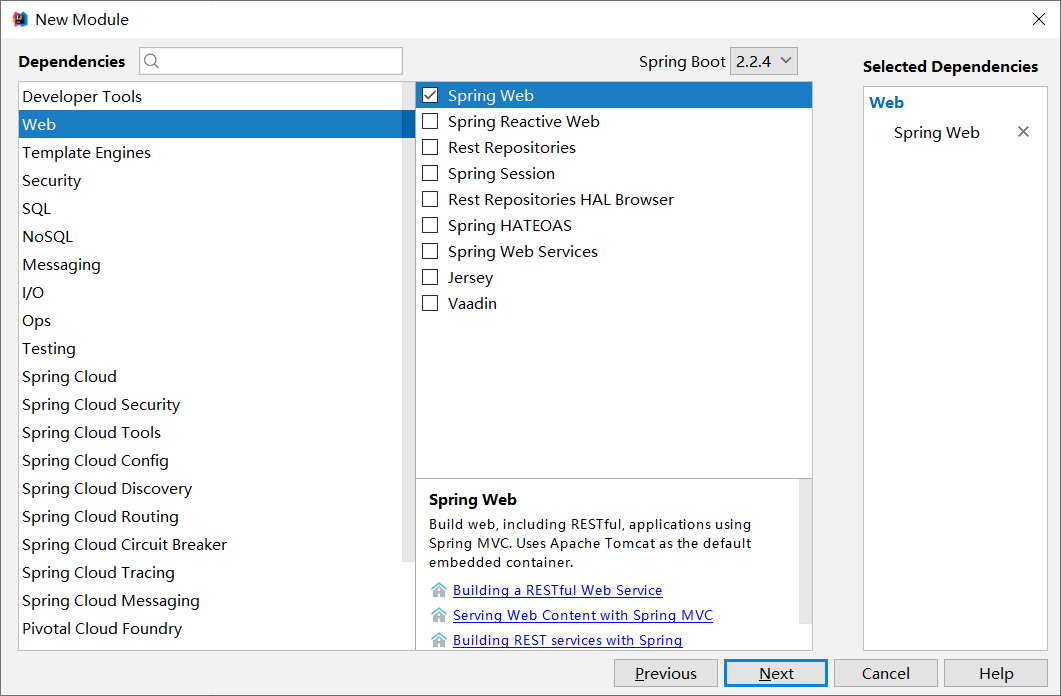
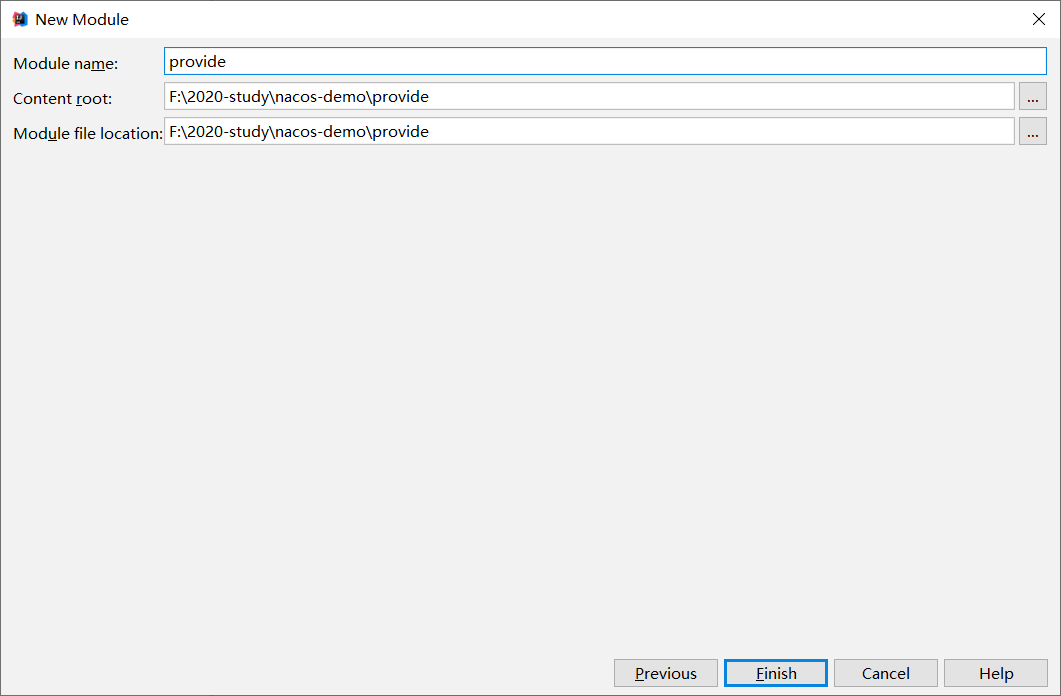
同理,创建consumer消费者
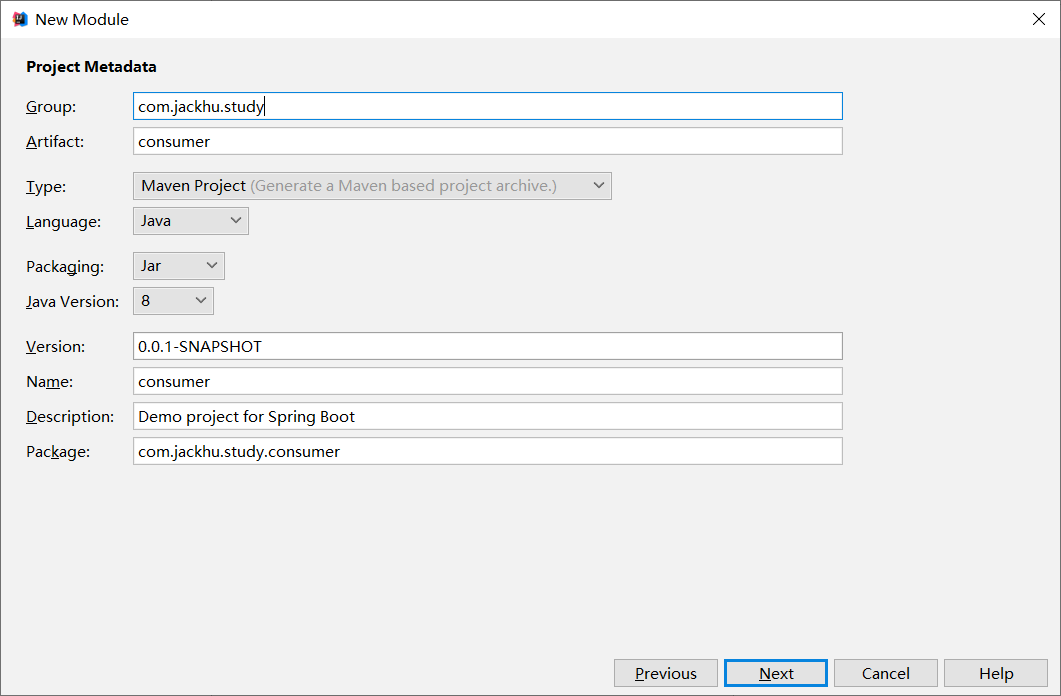
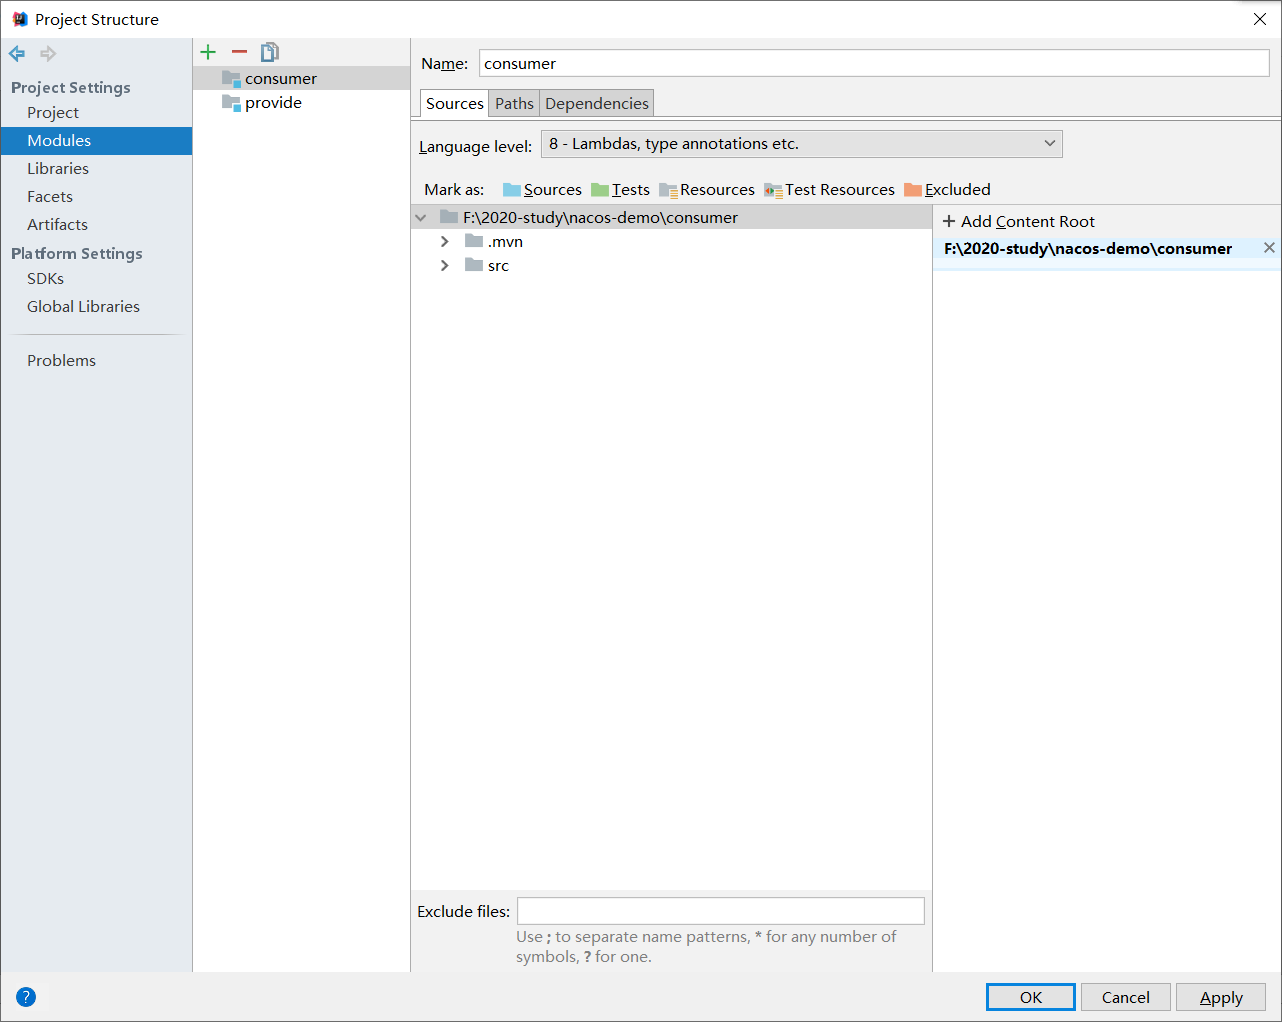
添加provider依赖
<dependency>
   <groupId>org.springframework.cloud</groupId>
   <artifactId>spring-cloud-starter-alibaba-nacos-discovery</artifactId>
   <version>0.2.2.RELEASE</version>
</dependency>
<!-- SpringCloud的依赖 -->
<dependencyManagement>
   <dependencies>
      <dependency>
         <groupId>org.springframework.cloud</groupId>
         <artifactId>spring-cloud-dependencies</artifactId>
         <version>Greenwich.SR2</version>
         <type>pom</type>
         <scope>import</scope>
      </dependency>
   </dependencies>
</dependencyManagement>
启动类增加注解@EnableDiscoveryClient
@SpringBootApplication
@EnableDiscoveryClient
public class ProvideApplication {

   public static void main(String[] args) {
      SpringApplication.run(ProvideApplication.class, args);
   }

}
@RestController
public class HelloController {

    @Value("${myName}")
    private String myName;

    @RequestMapping("/hello")
    public String hello() {
        return "hello " + myName;
    }

}
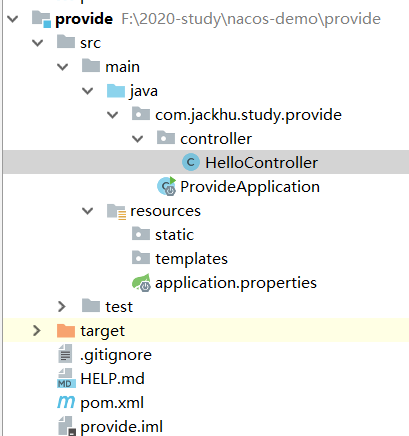
生产者项目结构
添加consumer依赖
<dependency>
   <groupId>org.springframework.cloud</groupId>
   <artifactId>spring-cloud-starter-alibaba-nacos-discovery</artifactId>
   <version>0.2.2.RELEASE</version>
</dependency>
<dependency>
   <groupId>org.springframework.cloud</groupId>
   <artifactId>spring-cloud-starter-openfeign</artifactId>
   <version>2.2.1.RELEASE</version>
</dependency>
<!-- SpringCloud的依赖 -->
<dependencyManagement>
   <dependencies>
      <dependency>
         <groupId>org.springframework.cloud</groupId>
         <artifactId>spring-cloud-dependencies</artifactId>
         <version>Greenwich.SR2</version>
         <type>pom</type>
         <scope>import</scope>
      </dependency>
   </dependencies>
</dependencyManagement>
启动类增加注解@EnableDiscoveryClient
@SpringBootApplication
@EnableDiscoveryClient
public class ProvideApplication {

   public static void main(String[] args) {
      SpringApplication.run(ProvideApplication.class, args);
   }

}
创建controller
@RestController
public class HiController {

    @Autowired
    private ProviderClient providerClient;

    @RequestMapping("/hi")
    public String hello() {
        String hello = this.providerClient.hello();
        return "hi provider" + hello;
    }

}
创建feign
@FeignClient("service-provider")
public interface ProviderClient {

    @GetMapping("/hello")
    public String hello();

}
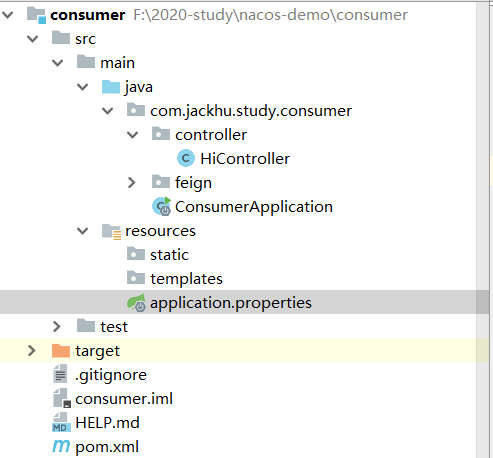
消费者项目结构如下
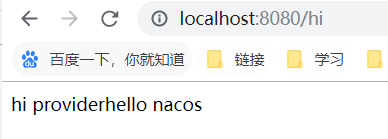
分别启动生产者和消费者并查看注册nacos中心

github: https://github.com/hull1234/nacos-study.git
来源:oschina
链接:https://my.oschina.net/u/3915790/blog/3168929