代码本色实例
一、随机性
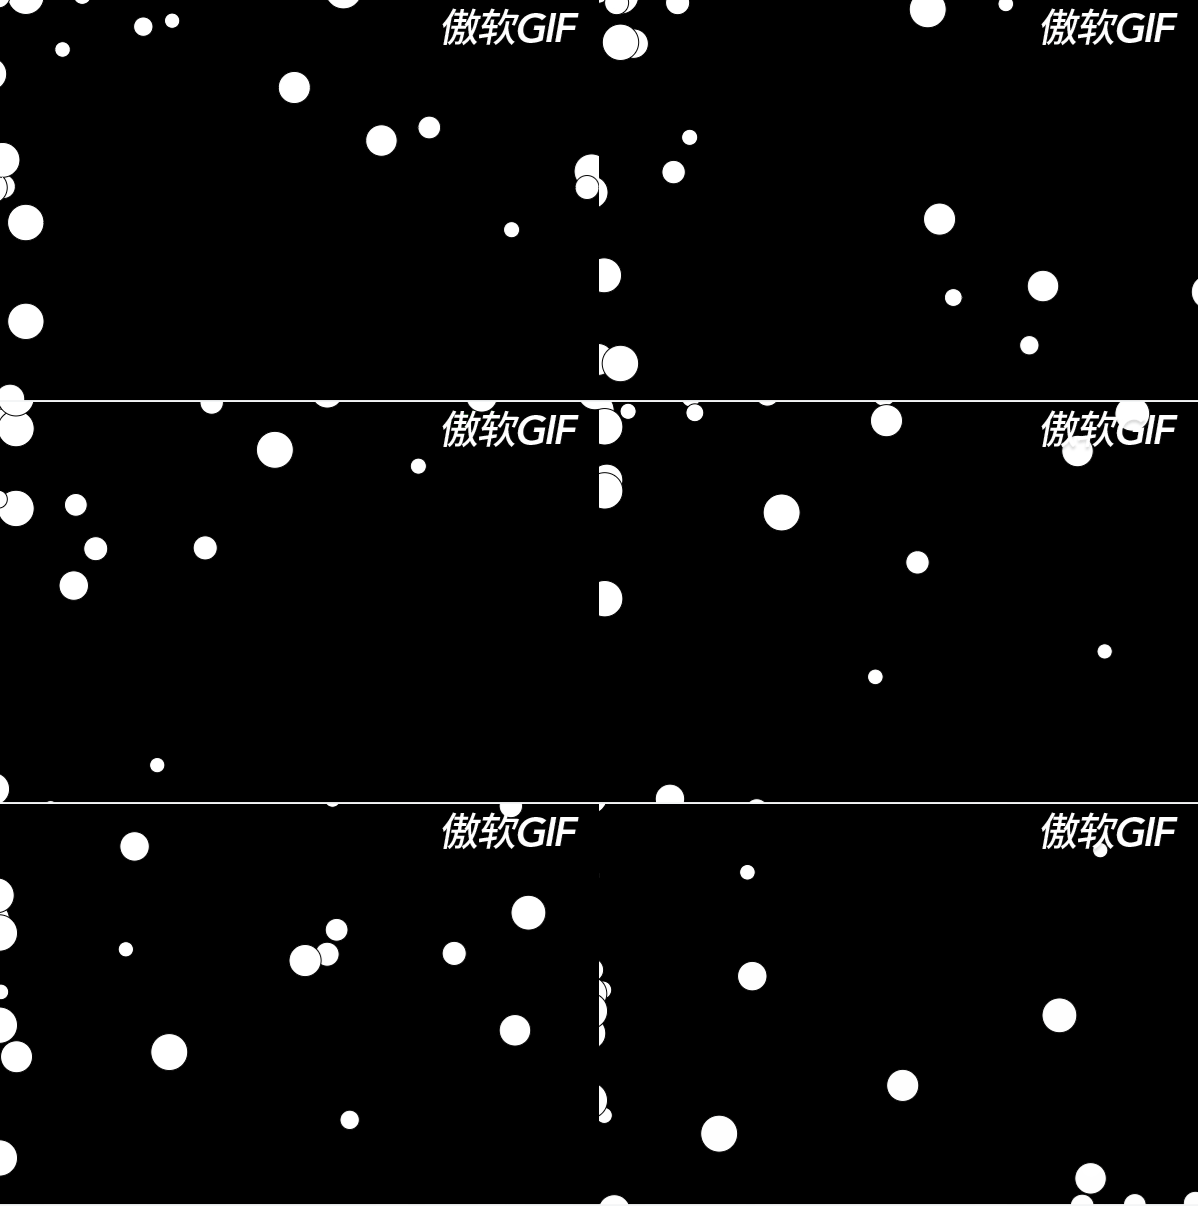
我选择去在屏幕中,随机生成许多圆圈,且不让他们有重合的部分。以下为全部代码
// https://www.youtube.com/watch?v=XATr_jdh-44
let circles = [];
const padding = 0.1;
let protection = 0;

function setup() {
  createCanvas(600, 400);
  background(200);
//判断
  while (circles.length < 10000) {
    let circle = {
    x: random(width),y: random(height),r: random(10, 30)
    let overlapping = false;
    for (let j = 0; j < circles.length; j++) {
      const other = circles[j];
      const d = dist(circle.x, circle.y, other.x, other.y);
      if (d < circle.r + other.r + padding) {
        overlapping = true;
      }
    }

    if (!overlapping) {
      circles.push(circle);
    }

    protection++;

    if (protection > 5000) {
      break;
    }
  }
  showAll();
}

function draw() {}

function showAll() {
  for (let i = 0; i < circles.length; i++) {
    const { x, y, r } = circles[i];
    noStroke();
    fill(255, 0, 200, 120);
    ellipse(x, y, r * 2, r * 2);
  }
}
实现效果如下

二、向量
这章我想看一下加速度的交互 首先代码如下
var b;
function setup() {
  createCanvas(500, 500)
  b = new ball
}

function draw() {
  background(0);
  b.run()
}

class ball {
  constructor() {
    // 位置
    this.location = new p5.Vector(200, 100);
    // 速度
    this.velocity = new p5.Vector(0, 0);
    // 最大速度
    this.topspeed = 5;
  }

  run() {
    this.update(this.location, this.velocity)
    this.show(this.location)
  }

  show(l) {
    fill(255)
    ellipse(l.x, l.y, 10, 10)
  }

  update(l, v) {
    var target = new p5.Vector(mouseX, mouseY);// 目标位置
    var dir = p5.Vector.sub(target, l);// 计算方向

    dir.setMag(0.5)

    var acceleration = dir; // 得到加速度

    v.add(acceleration) // 加速度 改变 速度
    v.limit(this.topspeed) // 限制速度
    l.add(v); // 给物体坐标 赋予速度
  }
}
我们让一个小球跟随鼠标移动,这样使他会有一个加速度。实现效果如下
三、力
我们看力的叠加的效果,选用基本的重力和风力,代码如下
const mover = [];
let wind;// 风力
let gravity; // 重力

function setup() {
  createCanvas(600, 400);

  for (let i = 0; i < 20; i++) {
    let m = new Mover(random(width/2), random(height/2), random(1, 4));
    mover.push(m);
  }

}

function draw() {
  background(0);
  if(mouseIsPressed){
     wind = createVector(random(4), 0);
  }else{
     wind = createVector(random(1), 0);
  }

  gravity = createVector(0, random(1));

  for (let i = 0; i < mover.length; i++) {
    mover[i].applyForce(wind);
    mover[i].applyForce(gravity);
    mover[i].run();
  }
}

class Mover {
  constructor(x, y, m) {
    this.location = createVector(x, y);// 位置
    this.velocity = createVector(0, 0);// 速度
    this.acceleration = createVector(0, 0);// 加速度
    this.mass = m;// 质量
  }

  run() {
    this.checkEnd(this.location, this.velocity);

    this.update(this.location, this.velocity, this.acceleration);

    this.show(this.location, this.mass);
  }

  show(l, m) {
    fill(255);
    ellipse(l.x, l.y, m * 10, m * 10);
  }

  update(l, v, a) {
    v.add(a);// 加速度改变速度
    l.add(v);// 速度改变位置
    a.mult(0); // 清空上一帧加速度
  }

  applyForce(force) {
    let f = p5.Vector.div(force, this.mass);// `现实中并非如此`
    this.acceleration.add(f);// 力改变加速度
  }

  checkEnd(l, v) {
    if (l.x > width) {
      v.x = 0;
      l.x = -10;
    }

    if (l.y > height) {
      v.y = 0;
      l.y = -10;
    }
  }

}
实现效果如下
四、三角函数的运动
想到最基本的三角函数的运动就是时钟,三个指针相互关联,代码如下
let cx, cy;
let secondsRadius;
let minutesRadius;
let hoursRadius;
let clockDiameter;

function setup() {
  createCanvas(720, 400);
  stroke(255);

  let radius = min(width, height) / 2;
  secondsRadius = radius * 0.71;
  minutesRadius = radius * 0.6;
  hoursRadius = radius * 0.5;
  clockDiameter = radius * 1.7;

  cx = width / 2;
  cy = height / 2;
}

function draw() {
  background(230);

  //背景
  noStroke();
  fill(244, 122, 158);
  ellipse(cx, cy, clockDiameter + 25, clockDiameter + 25);
  fill(237, 34, 93);
  ellipse(cx, cy, clockDiameter, clockDiameter);


  let s = map(second(), 0, 60, 0, TWO_PI) - HALF_PI;
  let m = map(minute() + norm(second(), 0, 60), 0, 60, 0, TWO_PI) - HALF_PI;
  let h = map(hour() + norm(minute(), 0, 60), 0, 24, 0, TWO_PI * 2) - HALF_PI;

  stroke(255);
  strokeWeight(1);
  line(cx, cy, cx + cos(s) * secondsRadius, cy + sin(s) * secondsRadius);
  strokeWeight(2);
  line(cx, cy, cx + cos(m) * minutesRadius, cy + sin(m) * minutesRadius);
  strokeWeight(4);
  line(cx, cy, cx + cos(h) * hoursRadius, cy + sin(h) * hoursRadius);

  strokeWeight(2);
  beginShape(POINTS);
  for (let a = 0; a < 360; a += 6) {
    let angle = radians(a);
    let x = cx + cos(angle) * secondsRadius;
    let y = cy + sin(angle) * secondsRadius;
    vertex(x, y);
  }
  endShape();
}
实现效果如下
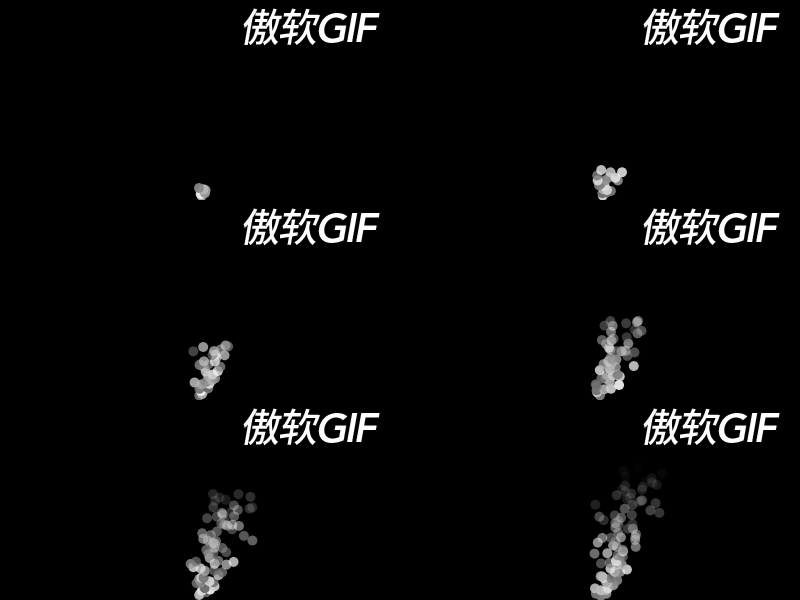
五、粒子系统
这章节,我们首先去生成随机粒子系统,然后付给他们运动,代码如下
var balls = [];

function setup(){
  createCanvas(400, 200)
  ball = new Ball();
  frameRate(10)
}


function draw(){
  background(0);
    balls.push( new Ball );
  }

  for(let i=balls.length-1; i>0; i--){
    balls[i].run();
    if(balls[i].isRemove()){
      balls.splice(i, 1);

    }
  }

}

class Ball {
	constructor(){
    this.x = 200;
    this.y = 197;
    this.opacty = 255;
  }

  run(){
    this.move();
    this.show()
  }
  show(){
    noStroke()
    // fill(random(155), random(155), random(255), this.opacty);
    fill(random(100, 255), this.opacty);
    strokeWeight(1)
    ellipseMode(CENTER)
    ellipse(this.x, this.y, 10, 10);
  }
  move(){
    this.x += random(-3, 4);
    this.y -= random(1, 2);
    this.opacty -= 3;
  }
  isRemove(){
    return this.opacty <= 0;
  }
}

class OverText{
  constructor(x, y){
    this.x = x
    this.y = y
  }

  run(){
    this.show()
  }

  show(){
    fill(255);
    textSize(16)
    text( String.fromCodePoint(floor(random(65, 91))), this.x, this.y)
  }
}
实现效果如下
来源:CSDN
作者:qq_42208866
链接:https://blog.csdn.net/qq_42208866/article/details/103678823