由于最近在做几个Ceph项目,基本都是50个节点起,那我们在项目中经常使用PXE技术来实现系统自动化安装,提高效率,可能有会说PXE技术太老了没什么好了解,但我觉得的很实用,尤其在项目型工程中。因此今天实验就是介绍在 SLES15SP 虚拟机环境下,部署PXE远程安装服务,采用AutoYast工具,实现在另外一台虚拟机中自动化安装SLES15SP1系统。
实验环境
本次环境依旧是在win10 + VMware workstation来部署虚拟机,首先部署一台PXE服务器,安装DHCP和TFTP服务,另外我们还有一台SLES系统仓库。然后通过PXE技术自动化安装SLES15SP1系统。
环境搭建
一、PXE 服务器环境搭建和系统安装
参考这2篇文章:
(1)SUSE Storage6 环境搭建详细步骤 - Win10 + VMware WorkStation(
(2)SUSE Linux Enterprise 15 SP1 系统安装
- PXE虚拟机:30GB 系统分区设置,系统分区建议按如下分区表建立
| 分区名 | 设备文件名 | 分区容量 | 文件系统 |
| /boot | /dev/sda1 | 1 GB | XFS |
| vg00 | /dev/sda2 | 29 GB | -- |
| / | /dev/vg00/lvroot | 28 GB | XFS |
| swap | /dev/vg00/lvswap | 1 GB | Swap |
- PXE客户端:300GB系统分区,模拟物理环境
| 分区名 | 设备文件名 | 分区容量 | 文件系统 |
| /boot | /dev/sda1 | 1 GB | XFS |
| vg00 | /dev/sda2 | 200 GB | -- |
| / | /dev/vg00/lvroot | 184 GB | XFS |
| swap | /dev/vg00/lvswap | 16 GB | Swap |
注意:300GB磁盘空间,我们只使用200GB,不使用全部磁盘空间主要因为 PXE 环境下自动分区不允许多出 1 字节,尽量采用小于300GB空间大小来分区,不够可以通过LVM在线扩容。
二、SLES15 PXE 部署
1、配置DHCP服务
(1)DHCP安装
# zypper -n in dhcp-server (2)配置dhcp服务
注意:按照自己服务器地址网段配置
# vim /etc/dhcpd.conf option domain-name ""; option routers 172.200.50.1; default-lease-time 14400; ddns-update-style none; ########### 下面是TFTP服务器地址和启动文件##################### next-server 172.200.50.49; filename "pxelinux.0"; subnet 172.200.50.0 netmask 255.255.255.0 { range 172.200.50.200 172.200.50.210; default-lease-time 14400; max-lease-time 172800; }
(3)修改支持dhcp服务的网络接口,将配置文件内的参数修改成真正提供服务的端口:
# vim /etc/sysconfig/dhcpd DHCPD_INTERFACE="eth0"
(4)启动服务
# systemctl enable dhcpd.service # systemctl start dhcpd.service # systemctl status dhcpd.service
2、apache 安装
(1)安装
# zypper -n in apache2 (2)配置
# vim /etc/apache2/default-server.conf DocumentRoot "/srv/www/htdocs" <Directory "/srv/www/htdocs"> .... Options Indexes FollowSymLinks .... </Directory>
(3)创建仓库
# mkdir /srv/www/htdocs/repo/SUSE/Products/SLES15-SP1-Installer-Pools -pv # mount SLE-15-SP1-Installer-DVD-x86_64-GM-DVD1.iso \ /srv/www/htdocs/repo/SUSE/Products/SLES15-SP1-Installer-Pools -r
(4)启动服务
# systemctl start apache2 # systemctl enable apache2
(5)访问apache2
http://172.200.50.49/repo/SUSE
3、生产 autoyast.xml 文件
(1)首先,我们选择一台 300GB 虚拟机,手动方式部署 SLES15SP1
通过手动安装方式,通过命令自动会产生autoyast.xml文件,然后我们在该文件之上修改。
(2)添加仓库
## Pool zypper ar http://172.200.50.19/repo/SUSE/Products/SLE-Product-SLES/15-SP1/x86_64/product/ \ SLE-Product-SLES15-SP1-Pool zypper ar http://172.200.50.19/repo/SUSE/Products/SLE-Module-Basesystem/15-SP1/x86_64/product/ \ SLE-Module-Basesystem-SLES15-SP1-Pool zypper ar http://172.200.50.19/repo/SUSE/Products/SLE-Module-Server-Applications/15-SP1/x86_64/product/ \ SLE-Module-Server-Applications-SLES15-SP1-Pool zypper ar http://172.200.50.19/repo/SUSE/Products/SLE-Module-Legacy/15-SP1/x86_64/product/ \ SLE-Module-Legacy-SLES15-SP1-Pool
(3)生成autoyast.xml文件
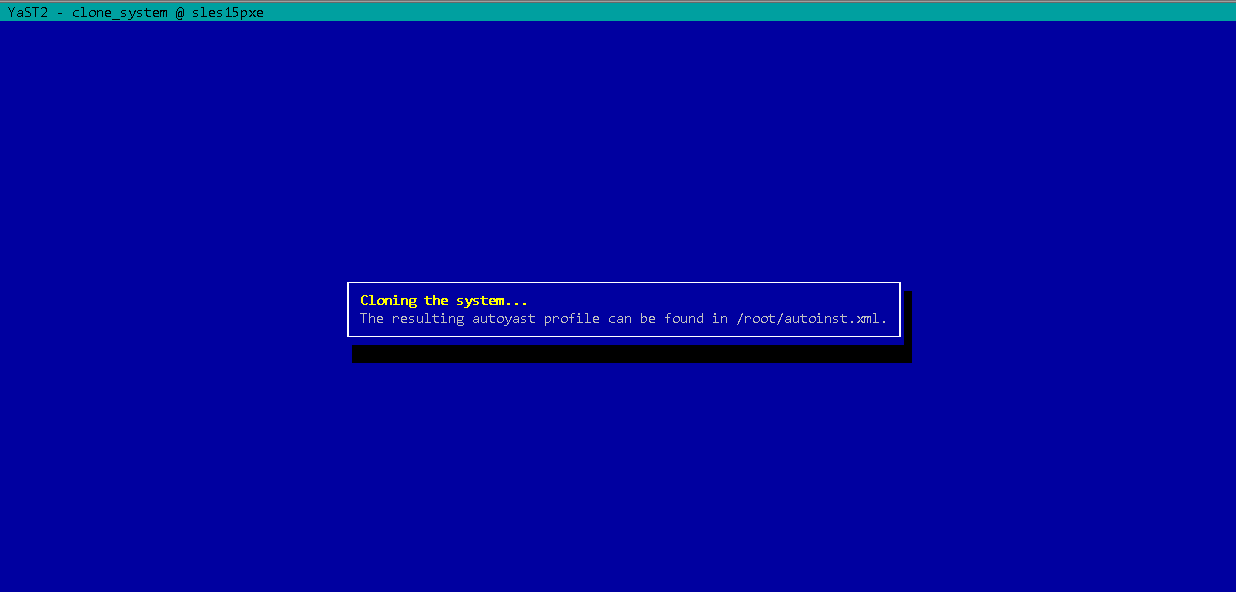
# zypper in autoyast2 autoyast2-installation # yast clone_system
- 自动生成 /root/autoyast.xml 文件

(4)编辑该配置文件
- 增加仓库文件
<profile xmlns="http://www.suse.com/1.0/yast2ns" xmlns:config="http://www.suse.com/1.0/configns"> <add-on> <add_on_products config:type="list"> <listentry> <media_url><![CDATA[http://172.200.50.19/repo/SUSE/Products/SLE-Module-Basesystem/15-SP1/x86_64/product/]]></media_url> <product>SLE-Module-Basesystem-SLES15-SP1-Pool</product> <product_dir>/</product_dir> </listentry> </add_on_products> </add-on>
- 在</bootloader>后<keyboard>前加入<general>,如果缺少<general>,PXE在磁盘分区后需要人工确认。
<bootloader> <global> ....... <xen_kernel_append>vga=gfx-1024x768x16 crashkernel=189M\<4G</xen_kernel_append> <general> <mode> <confirm config:type="boolean">false</confirm> </mode> </general> ......... </global> <loader_type>grub2</loader_type> </bootloader>
- 删除后autoyast2 autoyast2-installation,后续PXE安装的系统无需该安装包
<software> <image/> <packages config:type="list"> ....... <package>autoyast2-installation</package> <package>autoyast2</package> ....... </packages>
- 格式化分区,都修改为true
<initialize config:type="boolean">true</initialize>
- 修改完配置文件后复制到PXE服务器上
4、配置 TFTP
(1)首先安装tftp服务
# zypper -n in tftp tftpboot-installation-SLE-15-SP1-x86_64 tftpboot-installation-common # systemctl enable tftp.socket # systemctl restart tftp.socket # systemctl restart tftp.service
(2)配置TFTP目录,目录结构如下:
mkdir /srv/tftpboot mkdir /srv/tftpboot/{config,pxelinux.cfg} cp /root/autoinst.xml /srv/tftpboot/config/sles15sp1_300G.xml cp /usr/share/syslinux/pxelinux.0 /srv/tftpboot/ cp /srv/www/htdocs/repo/SUSE/Products/SLES15-SP1-Installer-Pools/boot/x86_64/loader/isolinux.cfg \ /srv/tftpboot/pxelinux.cfg/default chmod 644 /srv/tftpboot/pxelinux.cfg/default cp /srv/www/htdocs/repo/SUSE/Products/SLES15-SP1-Installer-Pools/boot/x86_64/loader/message \ /srv/tftpboot/ chmod 644 /srv/tftpboot/message cp /srv/www/htdocs/repo/SUSE/Products/SLES15-SP1-Installer-Pools/boot/x86_64/loader/initrd \ /srv/tftpboot/ cp /srv/www/htdocs/repo/SUSE/Products/SLES15-SP1-Installer-Pools/boot/x86_64/loader/linux \ /srv/tftpboot/
(3)目录架构如下
# tree /srv/tftpboot/ /srv/tftpboot/ |-- config ---- 注释 A | `-- sles11sp3.xml |-- message ---- 注释 B |-- pxelinux.0 ---- 注释 C |-- pxelinux.cfg | `-- default ---- 注释 D |-- initrd ---- 注释 E |-- linux
- 注释A:config目录里面存放的是在网络自动部署中,操作系统默认配置的定义文件,也就是autoyast.xml文件。这个稍后会讲到详细的创建过程。
- 注释B:这个文件来源于系统安装光盘中,用于客户端在PXE网络启动后,在客户端所看到的提示信息。一般写法可以通过操作系统安装光盘中/boot/x86_64/loader/message获取并且修改。
- 注释C:这个文件来源自系统本身,位置/usr/share/syslinux/pxelinux.0。此文件由syslinux-xxx-xxx.rpm提供。
- 注释D:这个文件来源系统安装光盘中:boot/x86_64/loader/isolinux.cfg
- 注释E:initrd、linux两个文件都同样来源自系统安装光盘中:boot/x86_64/loader/
(4)针对message和 default文件内容简单,介绍一下。确定要获得哪个内核和根文件系统的镜像
# vim /srv/tftpboot/message harddisk - Boot from Hard Disk (this i