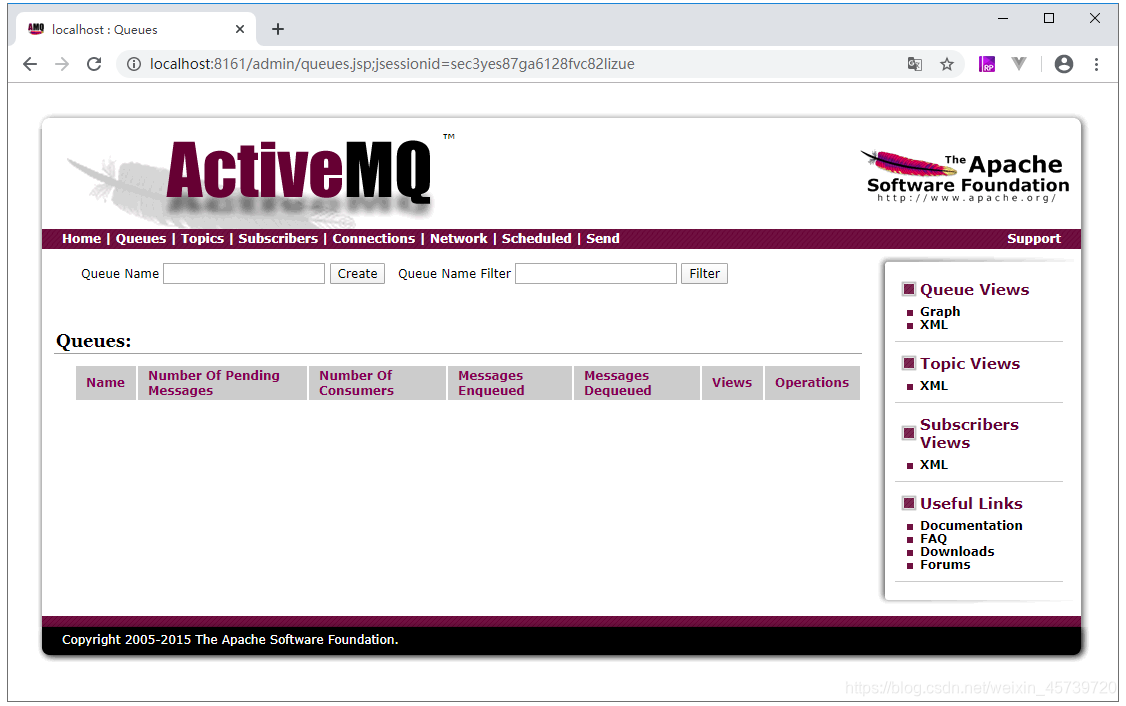
1、启动activemq,并进入MQ的消息队列
2、在pom.xml中添加依赖包
        <!-- 整合activemq -->
        <dependency>
            <groupId>org.springframework.boot</groupId>
            <artifactId>spring-boot-starter-activemq</artifactId>
        </dependency>
        <dependency>
            <groupId>com.alibaba</groupId>
            <artifactId>fastjson</artifactId>
            <version>1.2.30</version>
        </dependency>
3、创建全局配置文件(application.properties)
spring.activemq.broker-url=tcp://localhost:61616
spring.activemq.user=admin
spring.activemq.password=admin
spring.activemq.in-memory=true
spring.activemq.pool.enabled=false
4、创建测试类(UserController.java)
package com.jeff.controller;

import com.alibaba.fastjson.JSONObject;
import org.apache.activemq.command.ActiveMQQueue;
import org.springframework.beans.factory.annotation.Autowired;
import org.springframework.jms.core.JmsMessagingTemplate;
import org.springframework.web.bind.annotation.RequestMapping;
import org.springframework.web.bind.annotation.RestController;

import javax.jms.Destination;

@RestController
@RequestMapping("user")
public class UserController {

    @Autowired
    private JmsMessagingTemplate jmsTemplate;

    @RequestMapping("register")
    public Object register() {

        JSONObject json = new JSONObject();
        json.put("loginName", "Jeff");
        json.put("email", "123456@163.com");
        send("jeff_queue", json.toJSONString());

        return "success";
    }

    public void send(String queue_name, String json) {
        Destination destination = new ActiveMQQueue(queue_name);
        jmsTemplate.convertAndSend(destination, json);
    }

}
5、启动springboot项目,并访问http://localhost:8080/user/register
6、查看MQ的消息队列
来源:CSDN
作者:jiefu813
链接:https://blog.csdn.net/weixin_45739720/article/details/103647815