hystrix可以为我们解决微服务中的:断路器、服务降级、服务熔断、服务隔离机制、服务雪崩效应
服务降级:超时降级、失败次数降级、故障降级、限流降级。可以参考纯洁,我觉得讲的非常棒:https://blog.csdn.net/ityouknow/article/details/81230412
服务隔离:线程池隔离,每个服务接口都有自己的独立线程池,每个线程池互不影响,就是CPU占用率高(只需核心接口需要)。信号量隔离:
服务熔断:在高并发的情况下,如果请求达到一定的极限(自己设置的阈值),自动开启服务保护功能,使用服务降级方式返回一个友好提示。服务熔断和服务降级一起使用的。
这个例子基于服务注册后的代码来搞的,因为测试需要访问两个站点,模拟其中一个站点故障。
https://my.oschina.net/uwith/blog/1929697
1、首先添加pom引用
<dependency>
    <groupId>org.springframework.cloud</groupId>
    <artifactId>spring-cloud-starter-netflix-hystrix</artifactId>
</dependency>
2、在application启动类中添加注解
package com.example.clienttest;

import org.springframework.boot.SpringApplication;
import org.springframework.boot.autoconfigure.SpringBootApplication;
import org.springframework.cloud.client.circuitbreaker.EnableCircuitBreaker;

//添加熔断器
@EnableCircuitBreaker
@SpringBootApplication
public class ClientTestApplication {
    public static void main(String[] args) {
        SpringApplication.run(ClientTestApplication.class, args);
    }
}
3、然后编写测试类
package com.example.clienttest.web;

import com.netflix.hystrix.contrib.javanica.annotation.HystrixCommand;
import org.springframework.beans.factory.annotation.Autowired;
import org.springframework.cloud.client.loadbalancer.LoadBalancerClient;
import org.springframework.web.bind.annotation.RequestMapping;
import org.springframework.web.bind.annotation.RestController;
import org.springframework.web.client.RestTemplate;

@RestController
public class HomeController {

    @Autowired
    private LoadBalancerClient loadBalancerClient;

    @HystrixCommand(fallbackMethod = "hello")
    @RequestMapping("/index")
    public String index() {
        String httpUrl = loadBalancerClient.choose("server-test").getUri().toString();
        System.out.println("loadBalancerClient:" + httpUrl);

        //拿到服务的地址然后进行一次请求看看效果
        String result = new RestTemplate().getForObject(httpUrl + "/index", String.class);

        System.out.println("请求拿到的结果:" + result);
        return "这里是client-test";
    }

    //定义一个回调函数
    public String hello() {
        return "我是回调函数";
    }

}
然后服务注册的时候,开两个端口不同其余都相同的服务,然后,关闭其中一个服务,调用接口失效时会自动调用fallbackMethod定义的方法。如果服务恢复后,断路器也会恢复已恢复的服务调用。
同时这个注解也包含了线程隔离效果,接口调用超时熔断。
再来搞下针对于断路器的监控工具
1、在上面代码中继续添加pom引用
<!--hystrix-dashboard 断路器仪表板-->
<dependency>
    <groupId>org.springframework.cloud</groupId>
    <artifactId>spring-cloud-starter-netflix-hystrix-dashboard</artifactId>
</dependency>
2、添加配置文件bootstrap.yml
management:
  endpoints:
    web:
      exposure:
        include: '*'
3、然后启动类添加启动监控工具的注解
package com.example.clienttest;

import org.springframework.boot.SpringApplication;
import org.springframework.boot.autoconfigure.SpringBootApplication;
import org.springframework.cloud.client.circuitbreaker.EnableCircuitBreaker;
import org.springframework.cloud.netflix.hystrix.dashboard.EnableHystrixDashboard;

//添加熔断器
@EnableCircuitBreaker
//开启断路器仪表板
@EnableHystrixDashboard
@SpringBootApplication
public class ClientTestApplication {
    public static void main(String[] args) {
        SpringApplication.run(ClientTestApplication.class, args);
    }
}
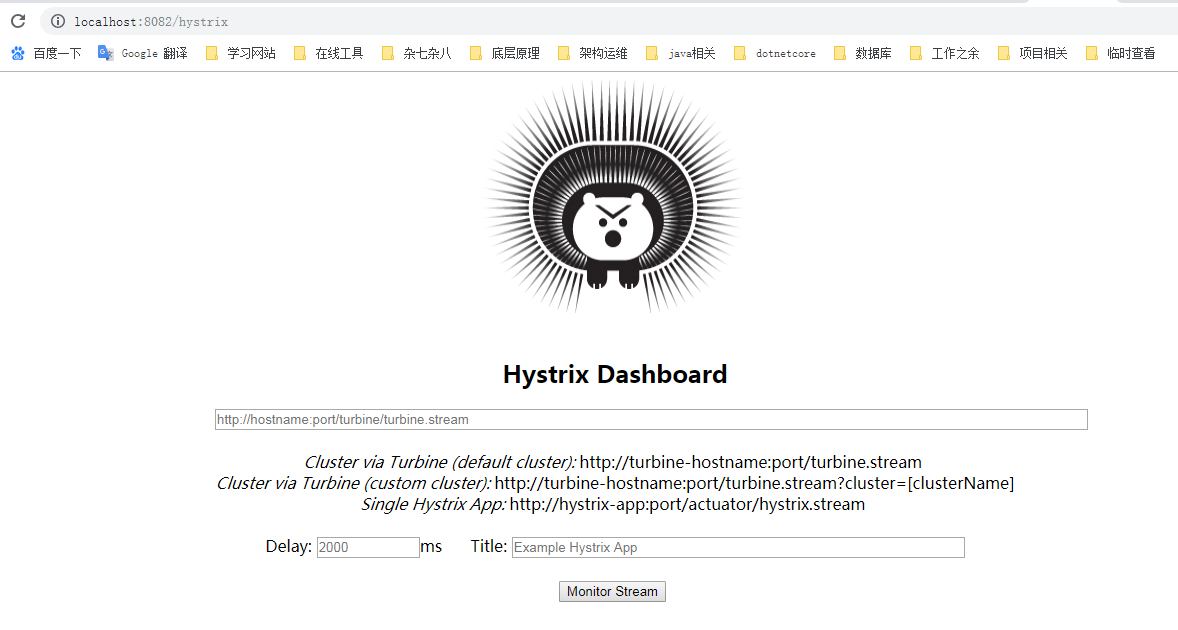
4、完事,然后在浏览器查看http://localhost:8082/hystrix

5、在地址栏输入你需要监控的断路器地址,我这里是和监控工具在一起,输入http://localhost:8082/actuator/hystrix.stream,然后点击monitor stream即可,就可以看到断路器的一些信息,左边竖着两排对应红框中的相应说明。

参考链接:
https://www.cnblogs.com/small-k/p/8149227.html
来源:oschina
链接:https://my.oschina.net/u/3031369/blog/3062062