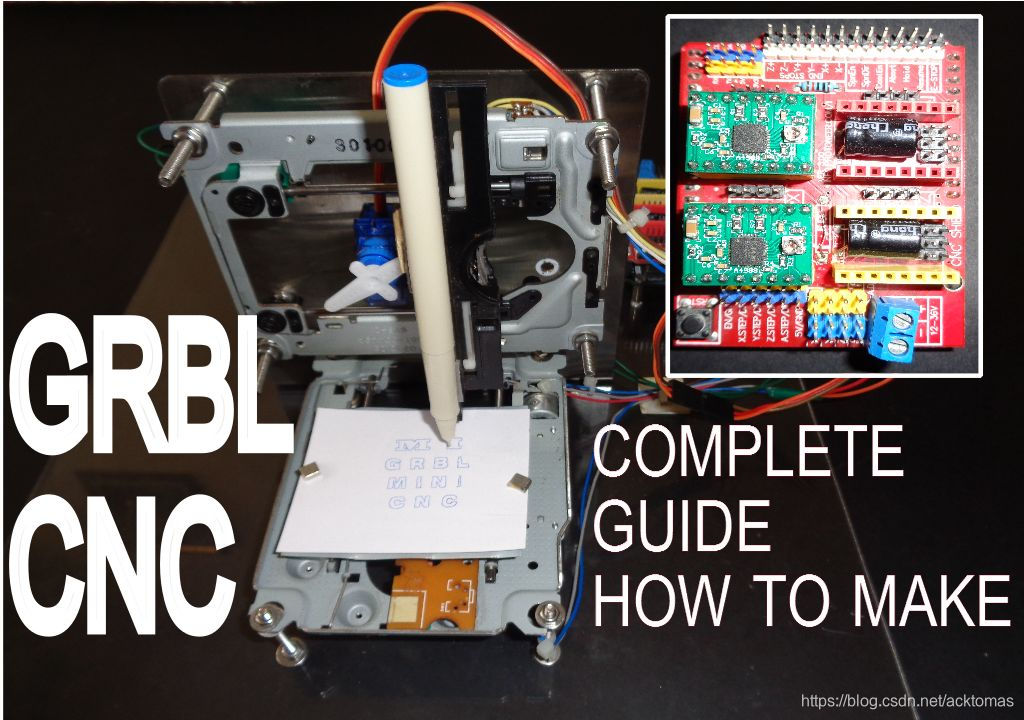
功能介绍:
- GRBL + CNCV3+基于Arduino的CNC机器
- 本指南包括所需的所有必要说明
- 像如何组装数控机床
- 如何将GRBL加载到arduino
- Inkscape扩展安装
- GRBL配置和G代码流
- 它具有非常有用的功能,例如硬限制,软限制,归位,我将详细指导您如何在家中制作基于GRBL的微型CNC机床

0. 准备
0.1 参考地址
- https://www.instructables.com/id/How-to-Make-GRBL-CNC-V3-Shield-Based-Mini-CNC-Mach-1/
- DIY绘图仪—再也不怕老师罚我们抄字典了:https://mc.dfrobot.com.cn/thread-37159-1-1.html
- arduino:废旧光驱DIY激光雕刻机
0.2 软件
- Arduino IDE Library
GRBL LIBRARY:- 点击这里下载 - InkScape
- UCGS—通用G代码发送器:
- 最新版本下载地址:https://github.com/winder/builds,下载方式:此种下载方式肯定有问题,隐隐约约觉得应该用
git pull命令,先留下记号吧!
git clone https://github.com/winder/builds.git myfold
- 下载地址:http://www.mediafire.com/file/2l16dvqivwgc9el/UGCS.zip/file,
- 连接地址:http://download2261.mediafire.com/whf683q323kg/2l16dvqivwgc9el/UGCS.zip
0.3 材料清单

- Arduino UNO--------------------------------------数量- 1
- CNC V3 Shield------------------------------------数量-1
- servo motor----------------------------------------数量-1
- A4988 Stepper driver shield--------------------数量-2
- Old scrap DVD Drives---------------------------数量-2
- Some push buttons as limit S/W---------------数量-2
- A acrylic sheet for base(亚克力板)
- Pen holder (slavege from DVD Drive)
- Some wires
1. 接线图

- 如图所示进行接线
限位开关是可选的(Limit switch are optional)
您可以通过如下更改GRBL设置来使用它们(You can use them by changing the GRBL setting as below)
$21=0 (hard limits, bool)
to
$21=1 (hard limits, bool)
2. GRBL Loading to Arduino
- Link to download GRBL Setup,两种版本
grbl V0.9------grbl 1.1 - Download the library file unzip it and load to arduino
- Now go to “File”>“Example”>“grbl upload”, compile and upload code to arduino
Note:- delete any previously loaded GRBL library
3. 在Inkscape中设置G代码
同样,我们在这里使用INKSCAPE软件制作G代码,由于我们正在为此机器使用GRBL和CNC Shield。它不支持将伺服电机(舵机)用作Z轴,所以这里有一些技巧,我们可以在Z轴上管理伺服电机(舵机)工作,您需要在此处添加MI Extension以使其与Z轴伺服一起工作
- 下载后,将此文件添加到inkscape目录>Share>Extension文件夹
- 打开inkscape设置页面尺寸40 x 40mm,画你想画的东西
- 选择“图像”>“转换为路径”
- 然后转到“扩展”,单击“MI GRBL Z-AXIS SERVO CONTORL”
- Servo up = M3
- Servo down = M5
- X-axis speed = 2000
- Y-axis speed = 2000 S
- ervo angle = 90
- Delay = 1
- Directory = as per you convenient or keep as it is
- File name = as per you convenient or keep as it is
- Clik on Apply now you G-code is saved @ location you mention(您的G代码将保存到您指定的位置)
4. GRBL配置和流式G代码
- Download link for Universal Gcode sender
最新版本下载地址:https://github.com/winder/builds,下载方式:此种下载方式肯定有问题,隐隐约约觉得应该用git pull命令,先留下记号吧!
git clone https://github.com/winder/builds.git myfold
- Open Universal G-code sender (Arduino must stay connected with PC)
- Select COM port
- Set Baud rate 115200
- clik on “OPEN”
- go in “COMMANDS” Tab
- enter $$ for GRBL configuration
- Example Suppose we want to change the $0(step pulse, usec) value from 10 to 20
- so enter in command line $0=20 & hit enter its done
- My GRBL SETTING
$0=10 (step pulse, usec)
$1=25 (step idle delay, msec)
$2=0 (step port invert mask:00000000)
$3=0 (dir port invert mask:00000000)
$4=0 (step enable invert, bool)
$5=0 (limit pins invert, bool)
$6=0 (probe pin invert, bool)
$10=3 (status report mask:00000011)
$11=0.010 (junction deviation, mm)
$12=0.002 (arc tolerance, mm)
$13=0 (report inches, bool)
$20=0 (soft limits, bool)
$21=0 (hard limits, bool)
$22=0 (homing cycle, bool)
$23=0 (homing dir invert mask:00000000)
$24=25.000 (homing feed, mm/min)
$25=500.000 (homing seek, mm/min)
$26=250 (homing debounce, msec)
$27=1.000 (homing pull-off, mm)
$100=5.000 (x, step/mm)
$101=5.000 (y, step/mm)
$102=100.000 (z, step/mm)
$110=500.000 (x max rate, mm/min)
$111=500.000 (y max rate, mm/min)
$112=500.000 (z max rate, mm/min)
$120=10.000 (x accel, mm/sec^2)
$121=10.000 (y accel, mm/sec^2)
$122=10.000 (z accel, mm/sec^2)
$130=40.000 (x max travel, mm)
$131=40.000 (y max travel, mm)
$132=200.000 (z max travel, mm)
ok
现在是时候将Gcode流式传输到机器了,进入“文件模式”选项卡浏览您的gcode文件,然后按Enter键
来源:CSDN
作者:acktomas
链接:https://blog.csdn.net/acktomas/article/details/104439903
