免root实现xshell连接termux
termux为安卓手机上的一款模拟linux终端的应用,由于手机上打字比较麻烦,所以想到了用电脑上的xshell通过ssh连接termux,以实现电脑控制termux。
一.配置termux
1.申请读写权限,以创建storage文件夹。
$ termux-setup-storage
$ ls
storage
$ cd storage
$ ls
dcim  downloads  movies  music  pictures  shared
2.安装openssh,以启动sshd。
$ apt update
$ apt install openssh
$ sshd
3.若没安装wget,也要安装weget后续会用到。
二.配置xshell


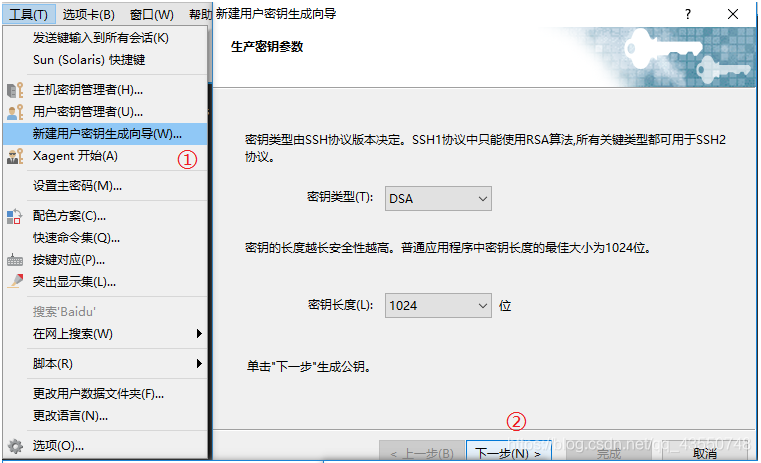
在xshell中点击工具 -> 用户密钥管理 -> 属性 -> 公钥 -> 保存文件,这样就把公钥保存下来了。
三.公钥文件导入手机
添加导出的公钥信息到手机,这里别的方法需要手机root才行,然而我不想root,所以想到了利用wget直接将公钥文件下载到termux里面。
1.首先我们需要一个网站,没有的也可以用github的免费空间。
我们先写一个index.html文件,代码如下:
<!DOCTYPE html>
<html>
<head>
 <title>标题</title>
</head>
<body>
<a href="公钥文件名.pub" download="公钥文件名.pub">点击下载</a>
</body>
</html>
再将index.html上传到github空间的一个文件夹中(没有可自己创建文件夹)
2.将公钥文件上传到index.html的同一个文件夹内
3.打开termux,利用wget下载刚刚上传到github的文件,并将其保存在storage中的dcim目录内。
$ wget -P /data/data/com.termux/files/home/storage/dcim 上传到github的公钥文件的下载连接
$ cd
$ cp storage/dcim/公钥文件名.pub ./.ssh
$ cat .ssh/公钥文件名.pub >> .ssh/authorized_keys
四.创立连接
手机查看当前用户名
$ whoami
手机查看当前ip地址
$ ifconfig
xshell连接手机

点击 文件->新建,主机为手机的ip地址,端口号为8022 ->连接 ->用户名为termux中whoami ->输入密码 ->连接成功。
来源:https://blog.csdn.net/qq_43550748/article/details/99674682