1. 绘制形状与文字
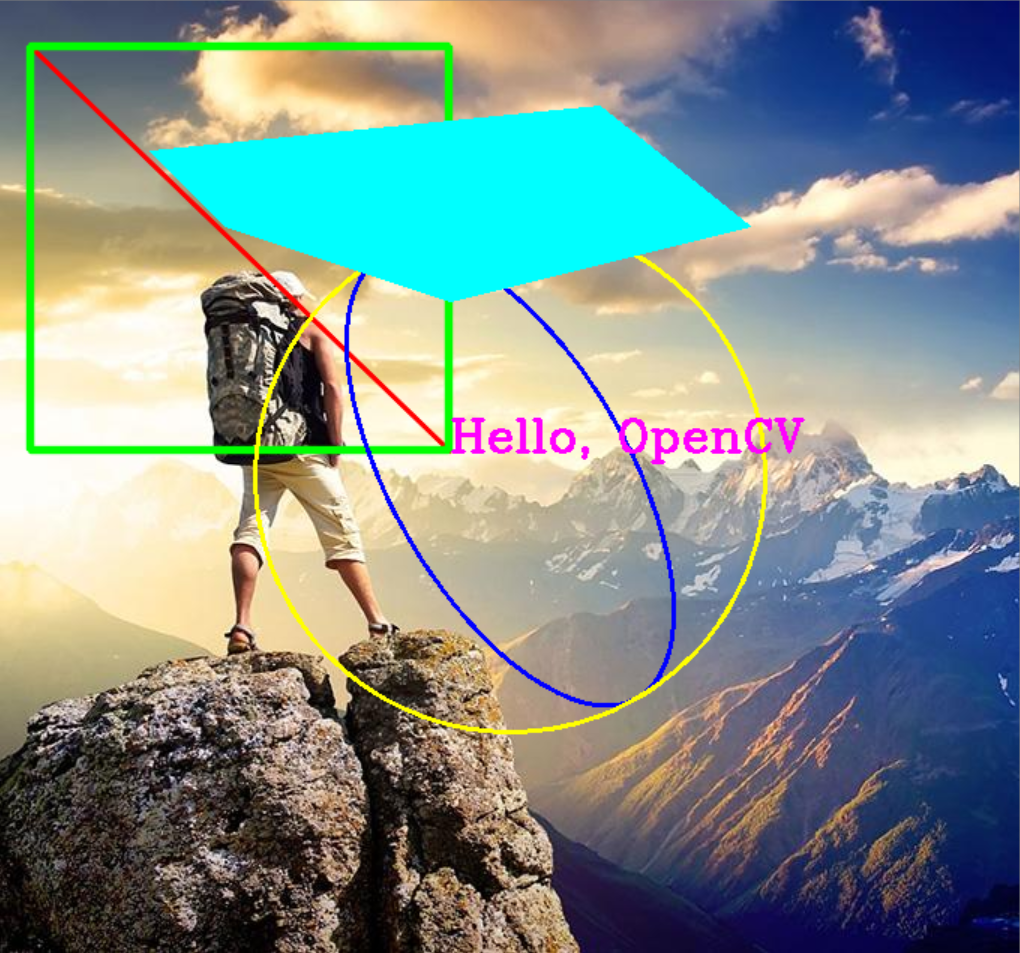
绘制线段:line()
void MyLines() {
    Point p1(20, 30);
    Point p2;
    p2.x = 300;
    p2.y = 300;
    Scalar color = Scalar(0, 0, 255);
    line(bgImage, p1, p2, color, 2, LINE_AA);  //LINA_AA 不要锯齿
}
绘制矩形:rectangle()
void MyRectangle() {
    Rect rect = Rect(20, 30, 280, 270);  //x y w h
    Scalar color = Scalar(0, 255, 0);
    rectangle(bgImage, rect, color, 3, LINE_AA);
}
绘制椭圆:ellipse()
void MyEllipse() {
    //Size axes1(bgImage.cols / 4, bgImage.rows / 8); //横轴 竖轴
    //Size axes2;
    //axes2.width = bgImage.cols / 4;
    //axes2.height = bgImage.rows / 8;
    ellipse(bgImage, Point(bgImage.cols / 2, bgImage.rows / 2),
        Size(bgImage.cols / 4, bgImage.rows / 8), 60, 0, 360,
        Scalar(255, 0, 0), 2, LINE_8);  //形状顺时针旋转60度 顺时针绘制360度
}
绘制圆:circle()
void MyCircle() {
    Point center(bgImage.cols / 2, bgImage.rows / 2);
    circle(bgImage, center, bgImage.cols / 4, Scalar(0, 255, 255), 2, 8);
}
绘制填充的多边形:fillPoly()
void MyPolygon() {
    Point pts[1][6];
    pts[0][0] = Point(100, 100);
    pts[0][1] = Point(400, 70);
    pts[0][2] = Point(500, 150);
    pts[0][3] = Point(300, 200);
    pts[0][4] = Point(150, 150);
    pts[0][5] = Point(100, 100);

    const Point* ppts[] = { pts[0] };
    int npt[] = { 6 };

    fillPoly(bgImage, ppts, npt, 1, Scalar(255, 255, 0), 8);
}
绘制文字:putText()
void MyText() {
    char text[] = "Hello, OpenCV";
    putText(bgImage, text, Point(300, 300),
        FONT_HERSHEY_COMPLEX, 1, Scalar(255, 0, 255), 2, 8);
}
demo:
#include <opencv2/opencv.hpp>
#include <iostream>

using namespace cv;
using namespace std;

Mat bgImage;
const char* drawdemo_win = "draw shapes and text demo";
void MyLines();
void MyRectangle();
void MyEllipse();
void MyCircle();
void MyPolygon();
void MyText();

int main()
{
    bgImage = imread("D:/learning/image/3.jpg", IMREAD_UNCHANGED);
    if (bgImage.empty())
    {
        cout << "Could not find the image!" << endl;
        return -1;
    }
    MyLines();
    MyRectangle();
    MyEllipse();
    MyCircle();
    MyPolygon();
    MyText();

    namedWindow(drawdemo_win, WINDOW_AUTOSIZE);
    imshow(drawdemo_win, bgImage);

    waitKey(0);
    return 0;
}

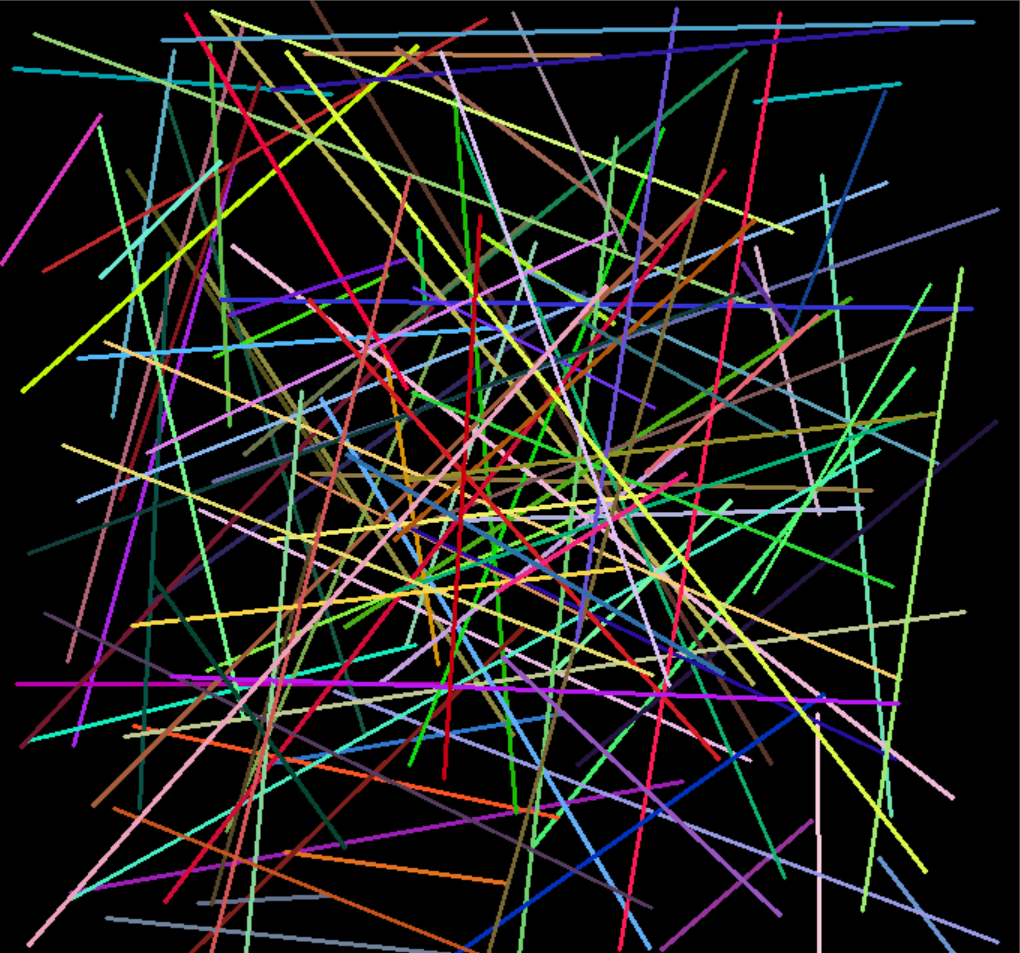
随机生成多条不同颜色的线段:
void RandomLines() {
    RNG rng(12345);  //随机种子
    Point p1, p2;
    Mat bg = Mat::zeros(bgImage.size(), bgImage.type());  //生成黑色背景图
    namedWindow("random lines demo", WINDOW_AUTOSIZE);
    //循环显示
    for (int i = 0; i < 100000; i++) {
        p1.x = rng.uniform(0, bgImage.cols);  //产生均匀分布的随机数
        p2.x = rng.uniform(0, bgImage.rows);
        p1.y = rng.uniform(0, bgImage.cols);
        p2.y = rng.uniform(0, bgImage.rows);
        Scalar color = Scalar(rng.uniform(0, 255), rng.uniform(0, 255), rng.uniform(0, 255));
        line(bg, p1, p2, color, 2, 8);
        imshow("random lines demo", bg);
        if (waitKey(50) > 0) break;
    }
}

来源:https://www.cnblogs.com/happyfan/p/12053430.html